Showing posts with label holiday. Show all posts

Monday, March 16, 2015

St. Patrick's Day Chocolate Mini Donuts


My friends' annual St. Patrick's Day Dinner was held last Saturday, March 14th, which was also Pie Day.  So while most of the baking bloggers out there were furiously making, eating and Instagramming pie,  I was in my kitchen making donuts.  I was just not ready to have Pie Day trump St. Patty's Day.  Or have pies trump donuts.  Or maybe i'm just a donut loving rebel like that.

Correction; a bright green, sprinkle topped, baked - not fried - chocolate mini donut loving rebel.

They're super easy to make.  Super delicious to eat.  And the only special equipment you need for these bad boys is a mini donut pan.  So it really is worth the cost, trust me.

And making mini (as opposed to normal-sized) donuts means you can guiltlessly eat half a dozen of them because they're just so itty bitty!  You better eat them fast, too.  Because they will disappear.


Mini Chocolate Donuts
Makes aprox 30 donuts.   Bake for 7 minutes at 325*
Adapted from Joy the Baker.

Ingredients:
1 c. flour 
1/4 c.  unsweetened cocoa powder 
1/2 tsp baking soda 
1/4 tsp table salt 
1 pinch of nutmeg
1/2 c.  light brown sugar, packed 
1/2 c. buttermilk 
1 large egg 
4 tblsp unsalted butter, melted until just browned 

1 tsp vanilla extract

Directions:
1. In a medium bowl, whisk together flour, cocoa powder, baking soda, salt, nutmeg and brown sugar and set aside.
2. Melt butter in a small saucepan.
3. In a separate bowl, whisk together buttermilk, egg, melted butter, and vanilla extract.
4. Pour the wet ingredients into the dry ingredient bowl , folding all ingredients together with a spatula until well combined.   
5. Transfer batter into a pastry bag or zip lock bag with a corner snipped off and pipe batter into the wells of a buttered mini donut pan.  Fill no more than 2/3 of the way.  (Trust, if you over batter you will have mini Bundt cakes instead of mini donuts!)
6. Bake in oven for aprox. 7minutes or until the donuts rise and are springy to touch. 
7. Let donuts cool a few minutes before transferring them to a wire rack to cool.

Tip:  In case you didn’t listen to me, and you over filled your donut pan too much and your mini donut/bundt cakes have no hole, use a toothpick or end of a small spoon to hollow one out.


Glaze
Adapted from SprinkleBakes.


Ingredients
2 c. powdered sugar, sifted
1 tsp.  vanilla
3-5 tablespoons whole milk
3-4 drops green food coloring 

Directions
1. Sift powdered sugar in a large bowl.
2. Make a well in the center  of the sugar with your finger.
3. Pour the vanilla extract, food coloring  and 1 tablespoon of milk into the well. 
4. Stir together with a whisk.
5. Add more milk, 1/2 a tablespoon at a time, as needed.  The glaze should come together, shiny and smooth with no clumps.  Don't add too much milk.  I used about 3.5 table spoons total, but this will vary for you.   
6.  Add additional food coloring if needed.  (Use gel food coloring if possible, I used Winton's "Leaf Green".)
7. Dip the tops of your donuts into the glaze, making sure to coat the top completely.  If the donut hole is covered or clogged, poke through with a spoon.
8.  Set donut on a rack to set the icing.  
9. When you are done dipping all your donuts, repeat the process one more time.  Two coats makes the icing more opaque and the color will look much better.  
10.  Add any sprinkles to the donuts while the donut glaze is still wet. 
11. Let donuts set completely, about 30 minutes. 


I have never used sprinkles so sparingly before!  I added a few very strategically placed white sprinkles and just one little shamrock.

Donut worry though,  I will be back to covering everything in sprinkles again next week.


Have a great St. Patrick's Day friends!  Eat plenty of carbs, drink responsibly, wear green and always, always double dip your mini donuts.
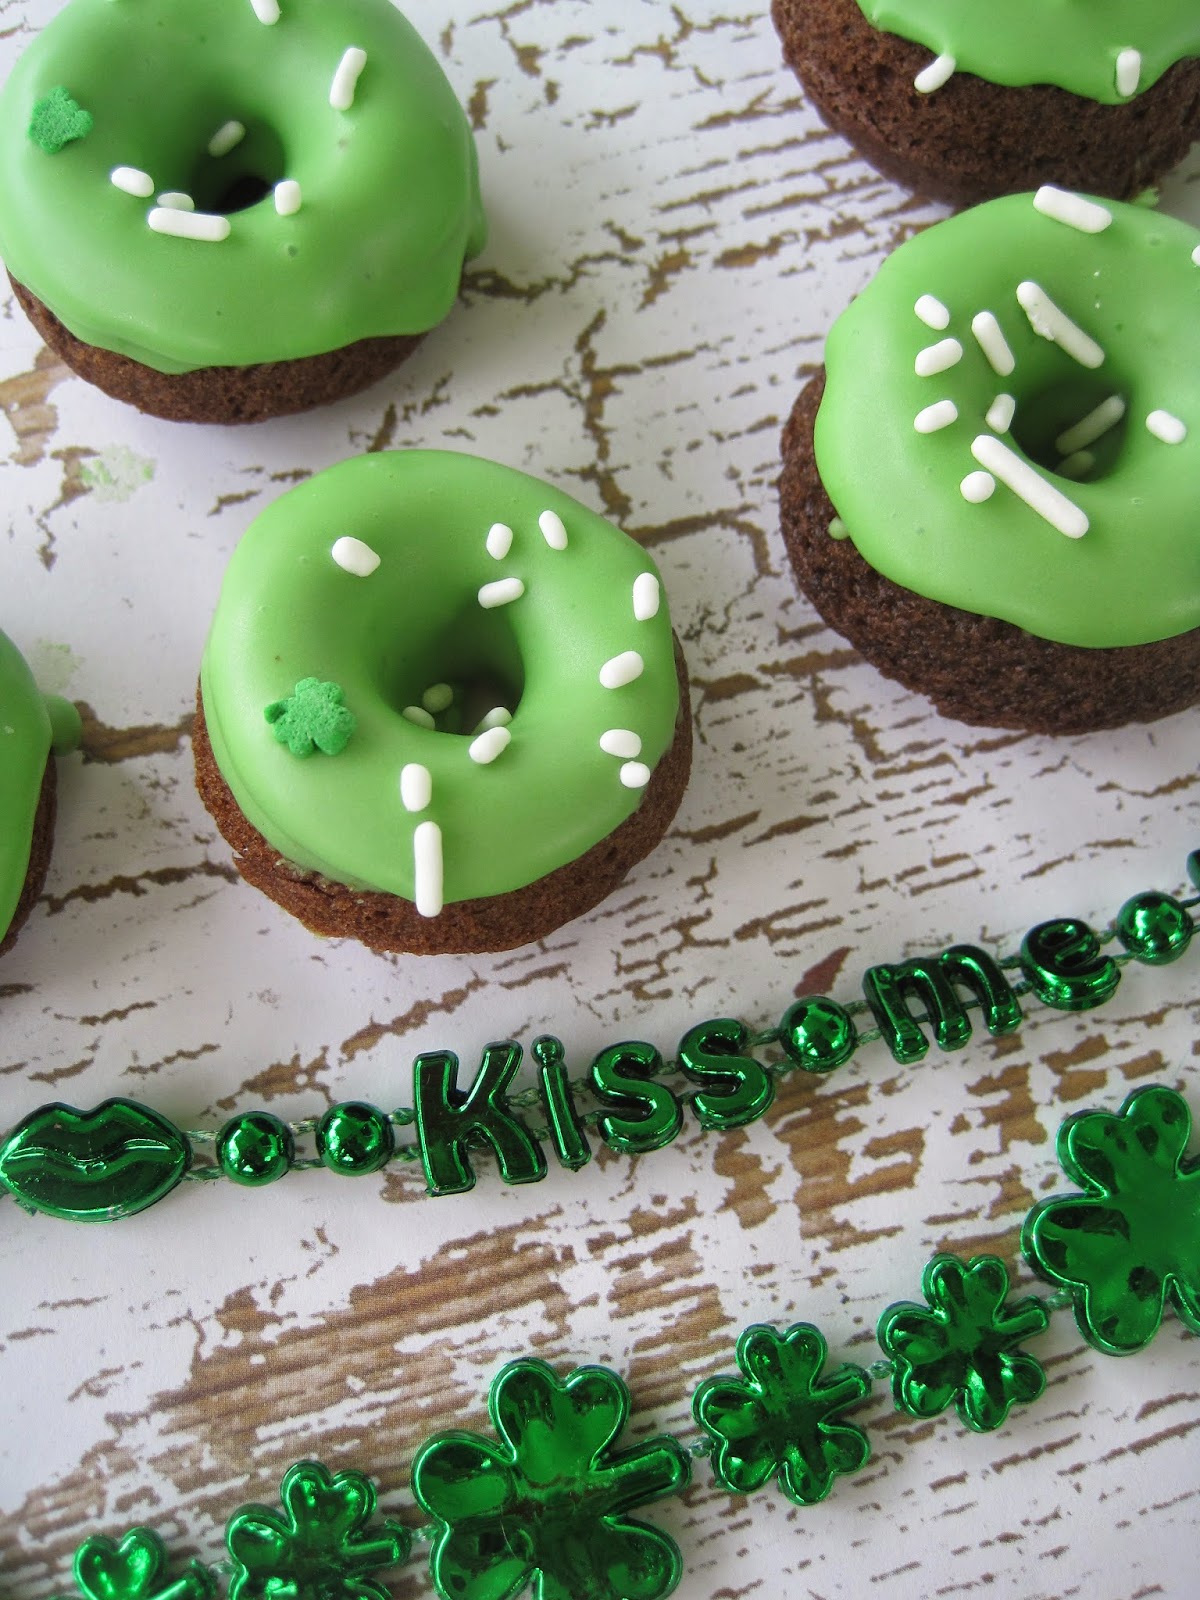


But make sure you get your fill of green things, shamrocks and Irish kisses.  'Cuz I am ready for some pastel bunnies up in here!

xoxo,
Anna


P.S. For more St. Patrick's Day inspired treats, check out my Lucky White Chocolate Chip Cookies or my  Wet Chocolate Irish Coffee Cupcakes .


Monday, December 8, 2014

Rudolph the Reindeer Cookies


I have not decided if I love the holidays because of the family, friends and food that joyously fill the season  OR if I just really like reindeer antlers. =D  On my baked goods.  On my socks.  On my head.

Last year I made gingerbread latte cupcakes in a jar to match the antlers on my head for my good friend's Holiday party.  Naturally, since I re-wore the same antlers to this year's party, I had to find another treat that would look great with antlers.  And big red noses.

These Rudolph cookies take a little time to put together, but they aren't difficult to make.  With some free time and a helper Christmas elf or two you may want to try them this year for yourself to liven up your own holiday parties.


Reindeer Gingerbread Cookies
Makes 30 2-inch cookies.  

Ingredients/Supplies
Your favorite gingerbread roll out cookie dough recipe*
2-inch round cookie cutter
1 bag white Candy Melts
1 bag light brown Candy Melts
Various sprinkles;  I used silver sprinkles, pearls, white snowflakes and pink hearts
Wilton eye candies
Red candy (M&M's, jelly beans, etc)

*I used this one from The Decorated Cookie. The only difference is that I needed to add a lot more flour once I started rolling out the dough.

Directions/Assembly:
1.  Prepare dough as directed.  Cut out faces using a 2-inch round cookie cutter.  Bake and set out to cool.
2.  Melt white Candy Melts in microwave and pipe antlers onto wax paper.  I did this freehand, but you can find a stencil on the internet as well.
3.  Place various sprinkles onto antlers while they are still wet. Silver sprinkles look like snow!
4. Let dry. You can speed up this process in a freezer.
5.  Once cookies are completely cool, melt brown Candy Melts and using a small spatula or butter knife to spread a thick coat over cookies.
6. While the candy melt is still wet, press antlers to top of cookies. Hold in place a few seconds.
7. Press Wilton eye candies below antlers.
8. Press red candy under the eyes. (or brown/black candy if you want regular reindeer instead of Rudolphs)
9.  Let cookies dry for 15 minutes before moving.

You can use all kinds of sprinkles for these cookies. And if you use an edible pen you can change the look of the eyes as well.  Add the slighlty different shaped noses and antlers and they can take on so many different personalities!

I added little hearts to some of the antlers because who said that Rudolph couldn't have secretly been a girl???


I also tried making some "regular reindeer".  Instead of a red candy nose, I used a large upside down chocolate chip.


They were still cute, but c'mon.  We know what we want during the holidays.  THAT RED NOSE.


I also used these cookies the following day for Rachelle's annual holiday cookie exchange.  I couldn't bake two separate  yummies in one weekend... there are not enough hours in the day, I am not Beyonce.

I hope everyone's holidays have started off as wonderful as mine.  I am knee deep in gingerbread lattes and cookies, burlap tree skirts and woodland creatures and we are only half way into December.  Can't wait for the rest of it!  There's still deep fried turduckens to eat, tamales to make, and Christmas Cheer to spread.

xoxo,

Anna

P.S. Oh, and just so you guys know.  I think it's time to retire the antlers.  I have gotten much good use from them the last two years.  What's next?  Elf ears?  How can I dress up like a penguin?  Anyone know?


Monday, March 17, 2014

Lucky Chocolate White Chocolate Chip Cookies


Happy St. Patrick's Day!  My mind was on green clovers all weekend long, so I am obviously wearing a pretty green dress today.  No getting pinched here.

I have been trying to get my hands on General Mill's Special Edition of Lucky Charms with only green clovers since last year. They only come out once a year!  And I completely struck out last year so upon fearing the same fate this year, I sent a message to Lucky Charms directly to ask what store I could find them in.  And they answered me!  But even cooler yet, they mailed me a box of Lucky Charms goodies.  Yay swag!  Bet you can't wait to see me in my Lucky Charms shirt.


I set to work on Saturday morning, sorting out the bright green clover marshmallows.

And eating cereal too... there was some of that.


And then I stuck them in some chocolate cookies. And then took them on a hike on Sunday.  8 miles means all the cookies you can eat, right?


Lucky Chocolate White Chocolate Chip Cookies
Makes 30, bake at 350* for 8-10 minutes

1 cup butter
1 1/2 cups granulated sugar
2 eggs
2 tsp vanilla
2 cups flour
2/3 cups cocoa powder
3/4  tsp baking powder
1/4 tsp salt
1 3/4 cup white chocolate chips
1/2 cup green clover marshmallows
1/3 cup green clover marshmallows reserved

Directions:
1. Cream butter and sugar together in a stand mixer fitted with a paddle attachment.  Beat on medium until light and fluffy.
2. Add in eggs, one by one and scrape down the side of the bowl if necessary. Add vanilla.
3. In a separate bowl, combine flour,  cocoa powder, baking powder and salt.  (Whisk together by hand to fully combine ingredients.)
4. Add flour mixture to sugar mixture 1/2 cup at a time, with the mixer on low.  Stop mixer when fully incorporated.
5. Fold in white chocolate chips.
6. Hold in 1/2 cup green clovers.
7. Chill dough for at least 60 minutes in refrigerator.
8. With a medium cookie scoop, scoop out dough onto cookie tray lined with parchment paper.  
9. Add additional 2-4 green clovers on top of the dough before baking.
10. Bake for 8 - 10 minutes at 350*.  Cookies are done when tops are thoroughly baked, and no longer sticky when touched.
11. Remove from oven and let cool on wire rack.

These have been taste tested to be delicious.  By me.  You are welcome. They are super chocolatey, dense in flavor but really light in texture.  It's almost like biting into a brownie cookie!


One of the most amazing things about these cookies are the clover marshmallows.  In the cereal, like the regular Lucky Charms marshmallows, they are hard.  Once baked however, they puff up and turn into soft marshmallows!  So cute and yummy.


Enjoy the rest of your St. Patrick's Day!  Hopefully no one went too hard on the green beer this weekend and their morning is fairing well.  I went on that St. Patrick's Day hike on Sunday (green shamrock on the top of Mission peak!) and went way too hard on my knees so I'm not fairing terribly well.  But it's only Monday, and with any luck this gorgeous California weather we have been having will allow me to continue spending March wearing shorts, exploring the outdoors and eating half a pint of ice cream on my weekends.

xoxo,
Anna

Monday, December 16, 2013

Reindeer (Cupcakes) in a Jar


Sometimes I feel like I am a caricature of myself.  I don't even think i'm a real person.  I am that ridiculous. Or awesome.

I decided this Holiday season that what my life was missing was cute holiday antlers.  I spent a whole week running into drug stores and trying on reindeer antlers I could parade around in comfortably and with little to no shame.  It was hard to find a happy medium between too plain and too much Christmas cheer on my head.   But I found some!  Luckily I had a White Elephant party to attend so I didn't have to wear them just around in my room, in my matching reindeer pajamas.  The antlers, along with said reindeer pajamas, were what inspired these cupcakes in the jar first place. Might as well go all out, right?


The cupcakes are gingerbread latte flavored.  Like the Starbucks Holiday drink I binge on every year.  Yes I know, more gingerbread.  Molasses all over the kitchen for the second weekend in a row!  You could use any flavor you'd  like but why not make something seasonal to impress your friends?


Gingerbread Latte Cupcakes
Makes 22, Bake for 15 minutes at 350*

2 1/2 c flour
1/2 tsp salt
2 tsp cinnamon
2 tsp ginger
1/2 tsp ground cloves
1/2 tsp nutmeg
1/2 brown sugar
1/4 c sugar
1/2 c oil
2/3 unsulphured molasses
2 eggs
2 tsp baking soda
1 cup (hot) strongly brewed coffee

Directions:
1. In a medium bowl, whisk the flour, baking soda, salt, cinnamon, ginger, cloves and nutmeg together.
2. In the bowl of a stand mixer, beat sugars, oil and molasses together, and add in eggs one by one.
3. Add in the flour mixture and the coffee in alternating additions to the sugar mixture.  Beat until fully incorporated.
5. Scoop batter into lined cupcakes and bake.  
6. Remove from oven and cool on wire rack until completely cool.  

Latte Frosting
1 8oz package cream cheese
1 1/2 sticks unsalted butter, room temp
4 cups powdered sugar
3 tablespoons VERY strongly brewed coffee

Directions:
1. Cream butter and sugar together until light and fluffy.
2.  Add 2 tablespoons coffee (or as much as you can before butter and cream cheese starts getting soft).
3. Slowly add in  3 cups powdered sugar by the 1/2 cup full.  
4. Add in remaining coffee.  Add in remaining sugar.


Reindeer Antlers
1 cup melted dark chocolate
1 bag pretzels
Assorted Sprinkles

Directions:
1. Break your pretzels with your hand or a knife until you get the antler "shape" you would like.
2. Melt chocolate in microwave in 30 second intervals.
3. Dip pretzel pieces in chocolate, cover completely and place on wax paper.
4. Before the chocolate dries, use sprinkles to decorate.  The sprinkles will adhere on their own if the chocolate is still wet. Make sure the antlers are dry before using.

Jar Assembly

Click here for instructions I used when I made my bunny jars last spring.  Easy peasy, promise.


Admittedly, the antlers were a little tedious to make but only because it is HARD to cut pretzel pieces into the right shape.

The last layer of frosting should be thick so that the chocolate antlers will stay in place.  You can also try making a small hole in the top cake layer with a knife and sticking the end of the antler there to keep it firmly in place.


Once I got to the sprinkle part I was having too much fun.  The possibilities are endless! Mostly I stuck with pretty snowflakes, some holly...


But I couldn't help myself.  Pink heart sprinkles exist for a reason.  I'm sure there are girl reindeer out there, right?


No?  Just me?  Just Anna the girl reindeer being ridiculous?  Yes, I did wear these all night long.  In every single picture.


Happy Holidays everyone!  Shop online, stay out of the mall, go to lots of boozey parties! Enjoy the next two weeks.  I know I will.  It's also my birthday this weekend and in case you are wondering there is no way that I will be baking ANYTHING.  Someone better bring me a cake.

xo,
Anna

P.S.  You can also stick some (stolen) Starbucks straws in these Gingerbread latte cupcakes if you're feeling lazy.  Still looks fancy pants!


Tuesday, December 10, 2013

Chocolate Covered Gingerbread Madeleines


I do this thing every year where I decide to vacation during the month of November.  It's awesome because I get to to escape the city and the mundanes of daily life and sneak away for one last sun kissed tan in before the sun goes away for four months.  It's awful because I come home, catch a cold, have to wear pants because it's dropped 20* and oh look it's December!  I have no idea where November went this year... one minute I was on a boat in the Bahamas, the next I was back in the states, downing Gingerbread lattes, shopping for Christmas mugs at Target and planning fancy holiday outfits.

When it came time to decide what to bring to my friend Rachelle's cookie exchange -- while wearing my favorite hot pink fleece gingerbread pajamas and sipping gingerbread tea out of my gingerbread man mug mind you  --it was no surprise that I went with something gingerbread.  My first thought was my gingerbread chocolate chip cookies.  They're easy to make.  I've made them before.  But that seemed too boring for a cookie exchange.  Then I thought about how easy madeleines are to make and contemplated making some of those instead -they just look fancy.  While debating the hard question of which cookie to bake, I came to the realization that instead of choosing between the two, I could combine the two.  Hashtag Cookie Genius.

Taking a page from the chocolate dipped orange madeleines I made last year, I finished these gingerbread madeleines with a dark chocolate drizzle.    Gingerbread plus dark chocolate is one of my favorite holiday flavor combinations afterall.  Remember the Gingerbread S'mores Cupcakes?  


Gingerbread Madeleines
Adaptation Source.
Makes 34. Bake at 375* for 7-8 minutes.

4 room temp eggs
2/3 c. sugar
1/4 tsp salt
2 tsp vanilla
4 tbsp molasses
1 cup flour
1/2 tsp baking powder
1/4 tsp nutmeg
1/2 tsp cinnamon
1 tsp ginger
1/2 cup unsalted butter melted and cooled
1/2 cup dark chocolate chips
(Optional:  1 cup mini chocolate chips)

Directions:
1. Whisk together flour, baking soda, nutmeg, cinnamon and ginger and set aside.
2. In a stand mixer fitted with a paddle attachment, beat eggs on high for about three minutes.
3. Add salt to the eggs, and then the sugar.  Sugar should be added slowly over the course of five minutes by the spoonful.  Eggs will become white and frothy.
4. Add in vanilla and molasses and beat on high speed until fully incorporated.
5. Stop the stand mixer and fold in flour and butter in additions, starting and ending with the flour.  Mix until smooth.
6. Scoop batter into butter and floured madeleine pan and bake for about 7 minutes.
7.  Melt chocolate in microwave for 30 second intervals, stirring in between.  Scoop melted chocolate into a piping bag and decorate cookies once they are cooled.

Tip:  Madeleines taste best 1-3 days after baking.  This allows the butter flavor to really set in.


Do you know what taste's good with these?  Gingerbread tea.  In a gingerbread mug... lol.  I'm totally that girl.


I apologize for my Gingebread Cheer.  No not really.

Do you know what else you can do to these bad boys?  Add in mini chocolate chips to the batter (about 1 cup) for EXTRA chocolately goodness.  See?


How was the cookie exchange you may ask?  Awesome.  Who doesn't love a giant plate of cookies?


Or 10 plates of them.  Don't worry we did more than just eat our weight in butter and sugar.  We mixed up some royal icing and decorated some sugar cookies too. That counts as activity, right?


I have to bake again this weekend ('tis the season to get fat afterall).  I'll try not to wear my penguin pajamas as I think of a cookie/cupcake because I don't want to find out what penguins taste like.  =/

xoxo,
Anna

Wednesday, March 27, 2013

Carrot Cupcakes with Marshmallow Bunny Toppers


I went to Target earlier this month and bought a bag of bunny shaped marshmallows.  I also bought a bag of Haribo gummi bunnies (who knew they existed?).  Yup, my love of  bunnies has been going strong.  I have only found use for the marshamallows thus far.  This means that I will be eating a whole bag of gummi bunnies soon.  And I guess I HAVE to eat the leftover adorable bunny marshmallows too, right?  I don't believe in wasting time.  Or candy.   Welcome to eat like an easter rabbit month here at My Feelings Taste Like Cupcakes Headquarters.  :)  All bunny, all the time.  I'm totally wearing rabbit ears as I type this*.


You saw my post from earlier this week, my cupcakes in a jar?  Well I made more cupcakes than I had jars.  Cupcakes sans jars are easier to distribute anyways.  But I wasn't sure how to top them. I had some easter bunny sprinkles... but the frosting on these is so delicious that I didn't want to throw the flavors off balance with too much sugar.

And then I found the marshmallows in my baking cupboard.   Just add toothpicks and it's so easy it's really frankly cheating. =x

But they look so adorable I don't care.  I love the little guys hopping over mounds of cream cheese frosting, skipping over the walnuts with such ease.  They're living the life!

They're the same recipe as before, obviously.  Can't stress it enough, make these.  The cupcakes are amazing.

Wouldn't you love to get him in your Easter basket?


No I lie, you want him and all of his bunny friends with you.  What do you call that?  A family?  Not a herd, not a school...  I'm googling now because I bet you're dying to know.  You're welcome.  


A COLONY.  YOU WANT A WHOLE COLONY OF EASTER BUNNY MARSHMALLOW CARROT CUPCAKES.  Wow, my blog is educational now too.  You are DOUBLE welcome.

Do you know who doesn't care about these cupcakes though? Poodles.  Poodles do not care about cupcakes.  They just care about getting in the way of my shots.


Happy Easter everyone! From me and my spoiled poodles.  May you stay away from peep shows. And may I stay away from that ENTIRE bag of gummy bunnies.

xoxo,
Anna

*No I'm not.  Or am I?

Sunday, March 24, 2013

Rabbit Food: Carrot Cupcakes In A Jar


I am having rabbit issues this week.  During Christmas, if you follow me in Instagram, you will remember that I was OBSESSED with gingerbread men.  And then with foxes on my clothes.  This season it's bunnies.   It started when I found these little Easter rabbit figurines (jax!) at Walmart.  I had been wanting to make cupcakes in a jar for months and thought they'd work well for some special Easter treats.  DIY, cute packaging, spray paint?  Right up my alley.

I spray painted the seals white and the rims baby blue and glued the bunnies on top.  I used smaller mason jars, the half pint glass ones.  It took a few days to let the paint dry but it was a fun project! Purple or green would have been cute too.


What kind of cupcakes did I bake?  Well my new motto is "eat like an Easter rabbit"!  So I did. They're carrot cake cupcakes of course. Rabbits may eat carrots, but Easter Rabbits eat sugar, for sure.  I used the same recipe last year, and still can't be happier with the taste and texture. Love the pineapple and the walnuts in the batter.  You can go here to see the recipe.

The frosting I changed up slightly, it's still pineapple cream cheese frosting but I used  2 tablespoons of pineapple-apricot preserves instead of pineapple juice.  Either will work, but I liked the stronger flavor that came through by using the preserves.

Jar Assembly

1. Bake as directed, let cool completely & cut in half, horizontally.
*If you don't wait for them to cool they will fog up your little mason jars.  Be patient.
2. Layer them into the jars: Cake, frosting, cake, frosting, cake frosting.
*You can either fit one or one and half cupcakes inside one half pint jar, depending on how generously you frost.
* I used a 1M tip and moved the jar as I squeezed.  My tip to you is NOT to frost against the glass, but about 1/2 an inch away from it to keep it clean and pretty.  When you put the cake on top, press down slightly and it will move the frosting to the edge.
3. Before you place a cap over them, add additional garnish to the top of the jars.


I tied them off with white and gold baker's twine and included those little wooden ice cream spoons.


  What child, or adult would not love getting one of these?  Best part it that you can keep the jar once the cupcake has been eaten, and save it to store something else.  That's a gift that keeps on giving right there.


This bunny is just TOO cute.  I can't get enough of him.  Or his little wooden spoon.


Happy almost Easter guys!  You will get one more Bunny post out of me this week, so stay tuned!

xoxo,
Anna


Monday, December 3, 2012

Gingerbread Man S'mores


I am having a bit of an issue.  I am obsessed with gingerbread men. I am not sure why but I just spent the last 30 minutes Googling "pink gingerbread pajamas" but I did.  No luck so far.  I will have to make do with these little guys instead.  He is a Gingerbread Man S'mores Cupcake.  You can make these Gingerbread S'mores without the cute little face, arms and buttons... you know in case you want to be an adult about it.  But make at least one.  Just so you can eat him. *Chomp.

I made these cupcakes for a friend's Thanksgiving dinner.  Pumpkin might have been more in line with the event but it was December 1st, I just made pumpkin cupcakes and I wanted gingerbread! And chocolate.  Together.  And why not add a really key ingredient....


Yup. Marshmallow fluff.  Do you know what that makes when it's on top of a cinnamon graham cracker crust??  GINGERBREAD S'MORES.


Cinnamon Graham Cracker Crust 
12 cinnamon graham crackers
1/4 c butter

Directions:
1. Crush up graham crackers.
2. Melt butter and add to graham cracker crumbs, add just enough to make workable.
3. Add one tablespoon of crumbs to the bottom of a lined cupcake tin and press down.
4. Bake in oven at 350* for 3.5 minutes and set aside to let cool.


Gingerbread Cupcakes
Bake at 350* for 20 minutes. Makes 24.

2 1/2 c flour
1/2 tsp salt
2 tsp cinnamon
2 tsp ginger
1/2 tsp ground cloves
1/2 tsp nutmeg
1/2 brown sugar
1/4 c sugar
1/2 c oil
2/3 unsulphured molasses
2 eggs
2 tsp baking soda
1 cup boiling water

Directions:
1. In a medium bowl, whisk the flour, salt, cinnamon, ginger, cloves and nutmeg togther.
2. In the bowl of a stand mixer, beat sugars, oil and molasses together, and add in eggs one by one.
3. In a cup or third bowl, add baking soda to boiling water.
4. Add in the flour mixture and the water in alternating additions to the sugar mixture.  Beat until fully incorporated.
5. Scoop batter into lined cupcakes, over baked graham crust.
6. Bake and core center of cupcakes.  Keep cupcake middle if you'd like to use crumbs to garnish cupcakes.


Chocolate Ganache

4 oz. heavy cream
4 oz. good dark chocolate

Directions:
1. Warm cream in a saucepan until hot, but do not let boil.
2. Pour cream over chopped chocolate and stir with whisk until smooth.
3. Once cool enough to handle, fill cored cupcakes with chocolate.


Chocolate Marshmallow Frosting
Makes enough to generously frost 24 cupcakes.
(If frosting cupcakes like gingerbread men, make half this recipe.)

1 jar marshmallow fluff
1 cup (2 sticks) butter
2 oz cream cheese
4 tsp cocoa powder
2 1/2 cups powdered sugar

Directions:
1. Cream butter and cream cheese.
2. Add in marshmallow fluff and cream on medium until fluffy.
3. Add in powdered sugar by the cupful.
4. Add in cocoa powder -- add enough to color the frosting brown.
5. Frost cupcakes.  If you want to make them into gingerbread, frost with a spatula and garnish with decorations below.  If you want more adult cupcakes, frost with a tip and sprinkle gingerbread crumbs on top.


Decoration

Royal Chocolate flavored mini marshmallows
Red M&Ms
Chocolate Chips
Toothpicks


Assembly:
1. Attach four marshmallow arms and legs to cupcake with toothpicks.
2. Put two red M&Ms in center of cupcake.
3. Melt chocolate chips or melts and put in a ziplock bag, cut end off and pipe smiles and eyes onto parchment paper and let harden in freezer for 5 minutes.
4. On a separate cupcake places two chocolate eyes and one smile on top of the cupcake.  Place upside down to avoid any ridges.
5. Either join the two cupcakes with a toothpick, or just side by side.  You don't have to eat both.


I bought two kinds of marshmallows for this project.  Okay, I lie.  I bought three -- two different packages of marshmallows in two shades of brown and one package of ice cream marshmallows because they are in the shape of ice cream cones and I like buying cute things I don't need, especially when I get to eat them in hot chocolate. I found the Royal Chocolate ones at Target.  Matched almost perfect to the frosting!


Let's be honest.  These little guys are freaking adorable.  Just look at his little marshmallow arms and legs! Don't you want to rip them off one by one and eat them?


No?  Just me?  How about picking off his eyes and smile and eating those?


Funny how I have no problem committing Gingerbread Man genocide, but I couldn't with last year's penguins?

Just in case for some reason you DO have a problem with that, then don't make them into adorable gingery men.  Make them look fancy with a pile of frosting and crumbs.  They'll still taste awesome.


Some small sides notes here before I end this post though.  Do you see it's yummy insides?  Imagine all of that in someones mouth. At one time.  Because that's what my friends Leo  did and he almost choked on it trying to swallow the graham crackers.   There was true pain in his face.  But poor Val might have been worse off.  So word to the wise, don't use these for Cupcake Eating Contests.

Use them for normal consumption, or better yet you can do what pandippo did the next morning; she popped him in the microwave and melted his face off. It looks disgusting, yes, but at least it's all melted together like a true s'mores!!! Melted Gingerbread Man S'mores Cupcakes.  It's how she keeps her girlish figure.

xoxo,
Anna