

I can too be one of those crafty girls. You know, those girls with paint all over their cut off jeans and plaid shirts with messy, sexy I'm too busy being an artist to brush my hair looks to them?
Well okay, I learned that I am not one of those crafty girls but I can certainly pretend with some degree of success. I'm also good at spray painting my legs. And gloves. And the patio floor. (At least not the dogs?)

I saw this picture on pinterest and tracked it down to be sourced from this site. I got super excited and envisioned gorgeous pink cupcake stands all over the place and had no choice but to convince myself that I was capable of doing this on my own. I then spent the next 3.5 weeks going to Michael's, Jo-Ann and Beverely's find the parts I needed. Oh and Home Depot. lol. In my head this project was going to take like one day to put together, and 15 minutes to execute. In actuality? Not so much. I spent 2 days spray painting things and making messes. I think I shall stick to using my creativity for cupcakes, not crafts.
Here's some pictures and a quick run down of how my process went.
You will need:
1. Wood glue. I bought Elmer's wood glue at Joann for about $3.00.
2. Spray paint you can use on wood. I bought three cans of Rust-Oleum spray paint, at $3.87 each. I only ended up using two of the three cans though. Might make more... or return if I can find the receipt. I really love the pink I used; "berry pink".

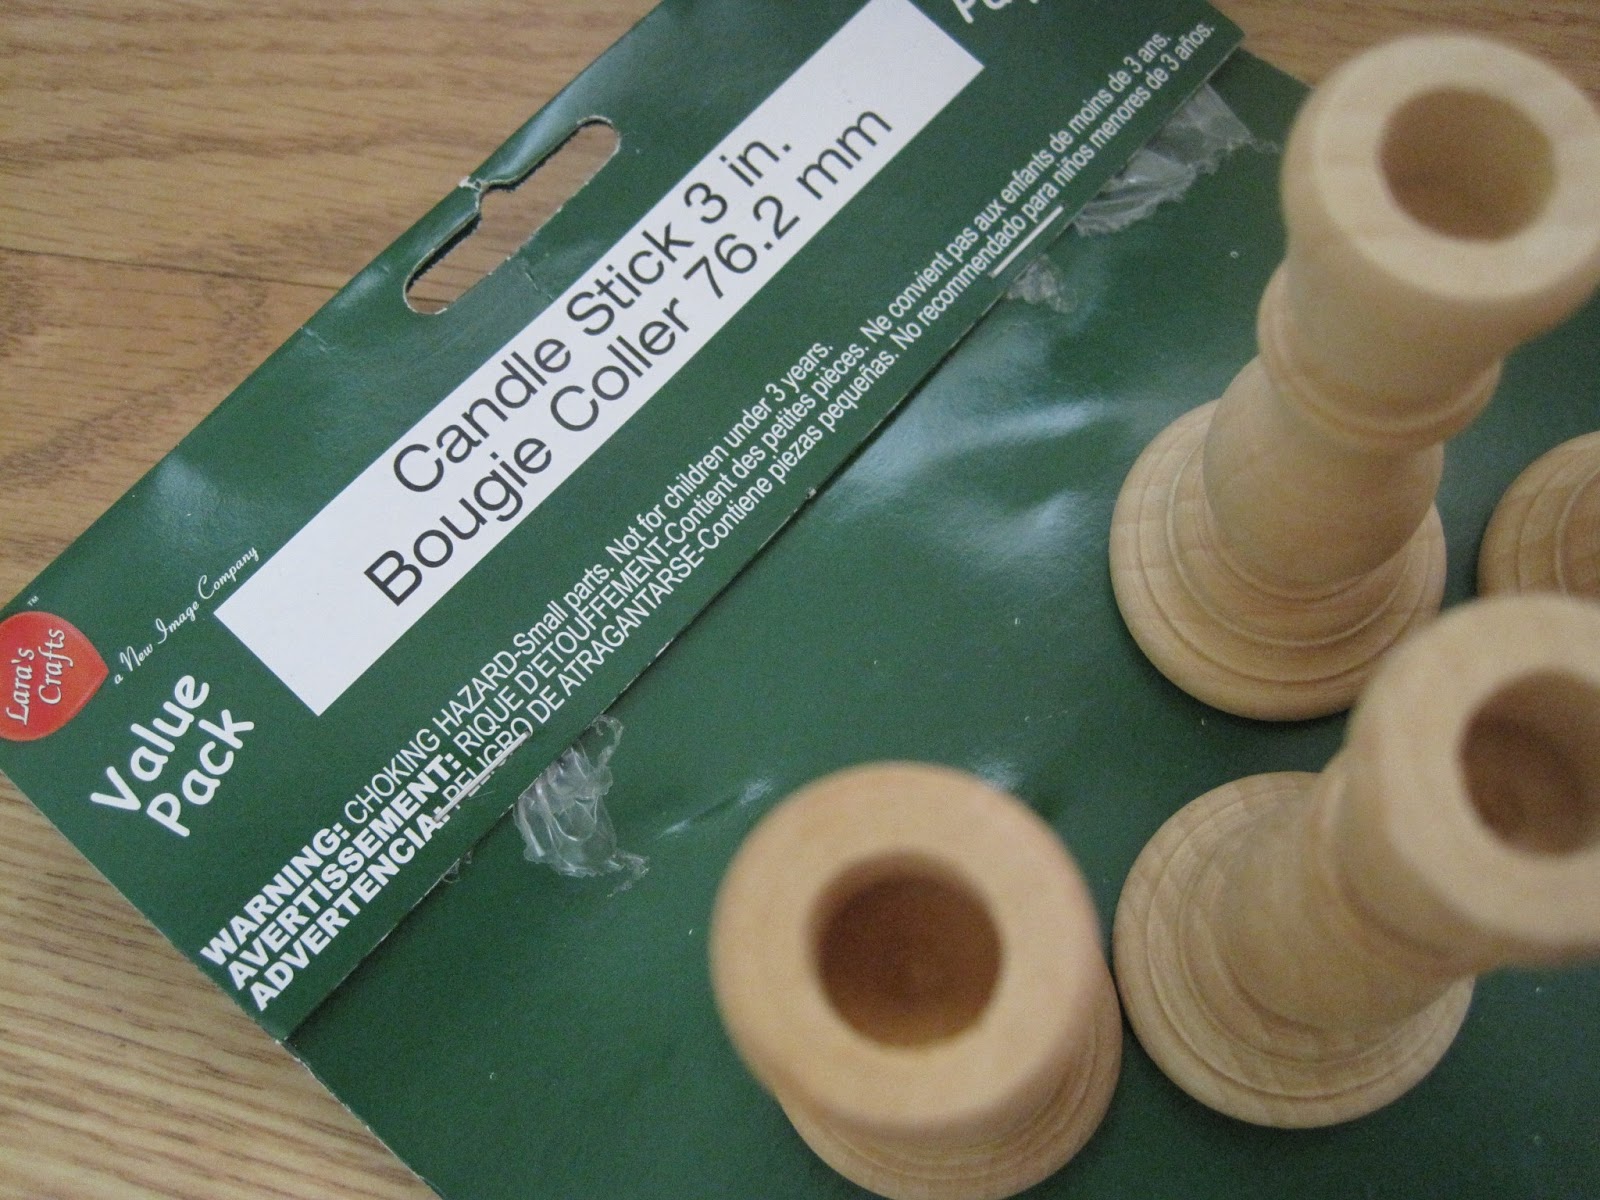
3. Packs of Lara's Crafts 3 inch wooden candlesticks. They come in packs of 4. I bought 5 packs at 2.99 each. These were a pain in the butt to find. None at Michael's or Jo-Ann. I was about to order them online before I found them at Beverley's. Well one pack, then I had to wait 3 weeks to get the other 4 packs in. You see why this took so long?
4. Wooden circles and/or squares. ($0.39 each) Around 3 inches in diameter. All the stores I had them, just not in stock. So I ended up ordering circles at Michael's and picking up squares at Jo-Anne's. The original tutorial called for cirles, but I wanted to mix it up so I did the squares as well. I contemplated hearts too! But they were too small to work with. Sad face. But tip for those of you wishing to replicate this project; try buying at Jo-Ann's based only on the STICKER they put on them. The one at Michael's take FOREVER to peel off.

(It's also helpful to gather paper bags (newspaper sticks too easy) and plastic gloves so you don't get your fingers all spray painty. In a related note, my camera might be spray painty.... lol. Oops.)
First step is to take off those stupid stickers. Make sure the surface had no stickyness to it and it is clean. Since we will be gluing the candle stick to the center of the circles/squares, you might want to measure and mark it off with a sharpie like I did.

Then, just rim the top of the candle with your wood glue and place it upside down in the center.


Press into place and repeat. Repeat over and over again. Leave to dry overnight.

It's helpful if you have a poodle underneath a bed to watch over this process. But not necessary.
I did the white ones first, and learned some lessons along the way, so I am showing you the pink ones' progress. Also pink is much prettier and shows up on camera better.
In a well ventilated area, turn stand upside down and spray the sides of the candle stick and bottom. Turn in a circle to try and coat evenly with a thin layer of paint. Let dry for a few minutes and repeat.


Let dry for a full hour and turn them over and repeat steps with the top of the stand. Let dry overnight.

If you missed any spots, go over with spray paint again and wait another 24 hours. If you did a good job then they're ready for cupcakes!


They are far from perfect. Haha. I don't think I am a good spray painter... The pink ones more than the white ones have some areas where the spray paint went on a little bubbly. =/ Maybe I should have primed them first.. or even painted them by hand.


But they work! And per unit were pretty cheap to make. And now I have a whole army of these little guys! In hot pink AND in white.


I am going to use them for the first time in a week and a half. (Nope, have not used them yet which is why the pictures do not feature a real cupcake haha.) Super excited about that, I think the little cupcake stands will look adorable!
'Till then!
xoxo,
Anna


