Showing posts with label pink. Show all posts

Wednesday, July 18, 2012

DIY Cupcake Stands


I can too be one of those crafty girls.  You know, those girls with paint all over their cut off jeans and plaid shirts with messy, sexy I'm too busy being an artist to brush my hair looks to them? 

Well okay, I learned that I am not one of those crafty girls but I can certainly pretend with some degree of success.  I'm also good at spray painting my legs.  And gloves.  And the patio floor.  (At least not the dogs?)


I saw this picture on pinterest and tracked it down to be sourced from this site.  I got super excited and envisioned gorgeous pink cupcake stands all over the place and had no choice but to convince myself that I was capable of doing this on my own.  I then spent the next 3.5 weeks going to Michael's, Jo-Ann and Beverely's find the parts I needed.  Oh and Home Depot. lol.  In my head this project was going to take like one day to put together, and 15 minutes to execute.  In actuality? Not so much.  I spent 2 days spray painting things and making messes.  I think I shall stick to using my creativity for cupcakes, not crafts.


Here's some pictures and a quick run down of how my process went.

You will need:

1. Wood glue.  I bought Elmer's wood glue at Joann for about $3.00.

2. Spray paint you can use on wood.  I bought three cans of Rust-Oleum spray paint, at $3.87 each.  I only ended up using two of the three cans though.  Might make more... or return if I can find the receipt. I really love the pink I used; "berry pink".


3. Packs of Lara's Crafts 3 inch wooden candlesticks.  They come in packs of 4.  I bought 5 packs at 2.99 each.  These were a pain in the butt to find.  None at Michael's or Jo-Ann.  I was about to order them online before I found them at Beverley's.  Well one pack, then I had to wait 3 weeks to get the other 4 packs in.  You see why this took so long?
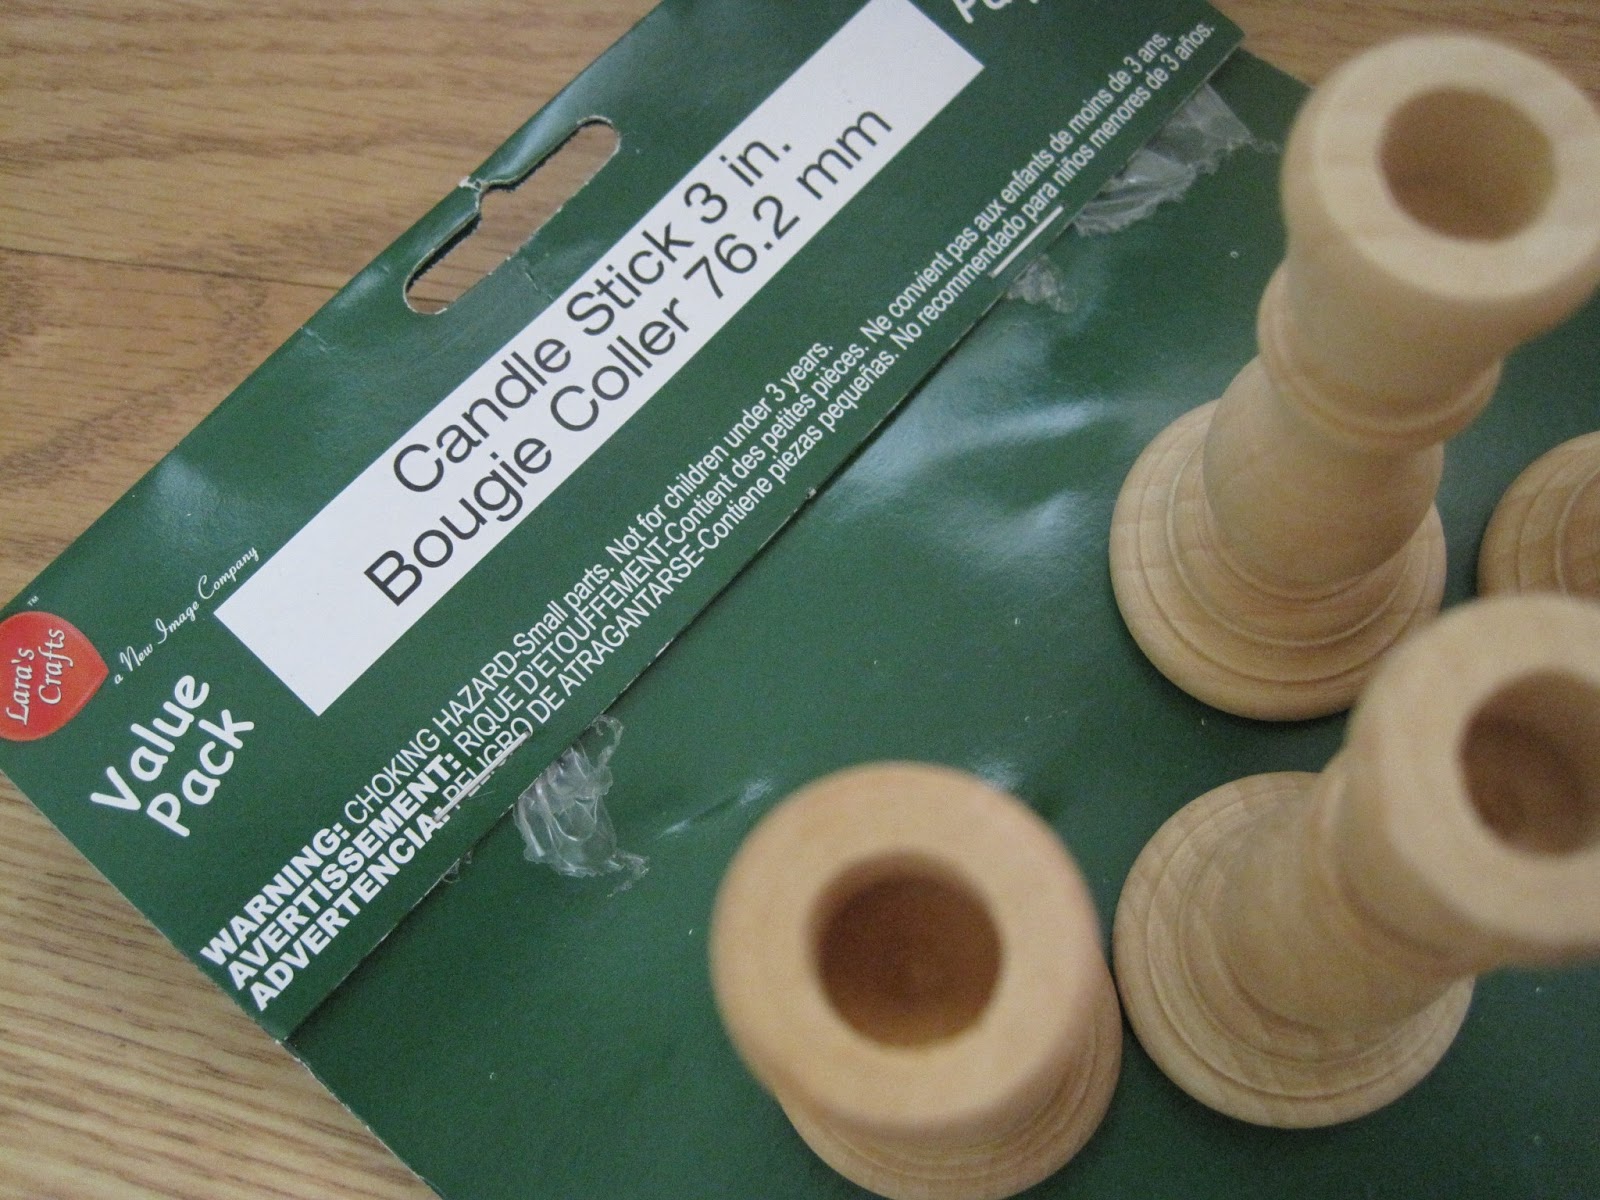


4. Wooden circles and/or squares.  ($0.39 each)  Around 3 inches in diameter.  All the stores I had them, just not in stock.  So I ended up ordering circles at Michael's and picking up squares at Jo-Anne's.  The original tutorial called for cirles, but I wanted to mix it up so I did the squares as well.  I contemplated hearts too! But they were too small to work with.  Sad face.  But tip for those of you wishing to replicate this project; try buying at Jo-Ann's based only on the STICKER they put on them.   The one at Michael's take FOREVER to peel off.  


(It's also helpful to gather paper bags (newspaper sticks too easy) and plastic gloves so you don't get your fingers all spray painty.  In a related note, my camera might be spray painty.... lol.  Oops.)


First step is to take off those stupid stickers.  Make sure the surface had no stickyness to it and it is clean.  Since we will be gluing the candle stick to the center of the circles/squares, you might want to measure and mark it off with a sharpie like I did.


Then, just rim the top of the candle with your wood glue and place it upside down in the center. 


Press into place and repeat.  Repeat over and over again.  Leave to dry overnight.


It's helpful if you have a poodle underneath a bed to watch over this process.  But not necessary.

I did the white ones first, and learned some lessons along the way, so I am showing you the pink ones' progress. Also pink is much prettier and shows up on camera better.

In a well ventilated area, turn stand upside down and spray the sides of the candle stick and bottom.  Turn in a circle to try and coat evenly with a thin layer of paint.  Let dry for a few minutes and repeat.


 Let dry for a full hour and turn them over and repeat steps with the top of the stand.  Let dry overnight.  


If you missed any spots, go over with spray paint again and wait another 24 hours.  If you did a good job then they're ready for cupcakes!


They are far from perfect.  Haha.  I don't think I am a good spray painter... The pink ones more than the white ones have some areas where the spray paint went on a little bubbly.  =/  Maybe I should have primed them first.. or even painted them by hand. 


But they work!  And per unit were pretty cheap to make. And now I have a whole army of these little guys!  In hot pink AND in white.


I am going to use them for the first time in a week and a half.  (Nope, have not used them yet which is why the pictures do not feature a real cupcake haha.) Super excited about that, I think the little cupcake stands will look adorable!

'Till then!

xoxo,
Anna


Wednesday, August 17, 2011

S'mores Cupcakes


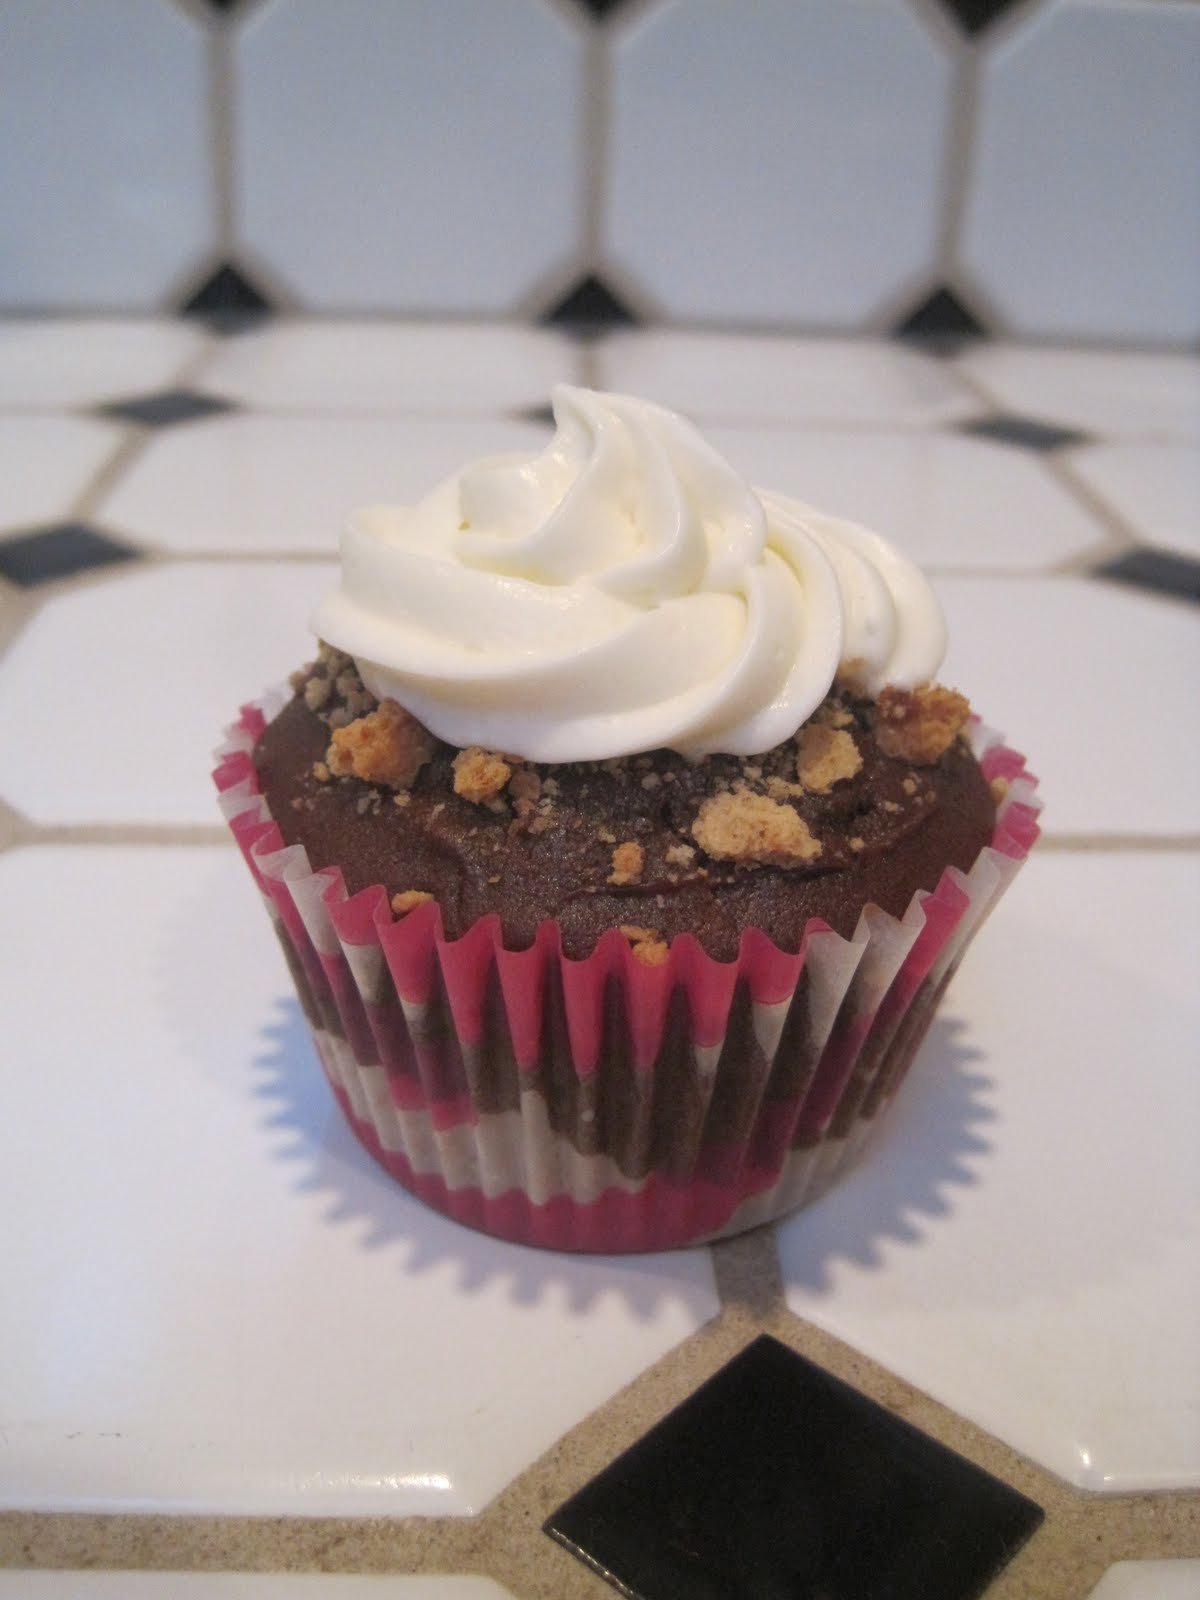
Oh my. The S'mores cupcakes made a reappearance this year. Better than ever I would say, in fact. (Old post.)

Three yummy ingredients; Ghirardelli chocolate, marshmallow (cream) and cinnamon graham crackers. One result; delicioussssss.


I ate like 7 of these over the course of three days. Don't judge me. It was vacation. Calories don't count, ha.

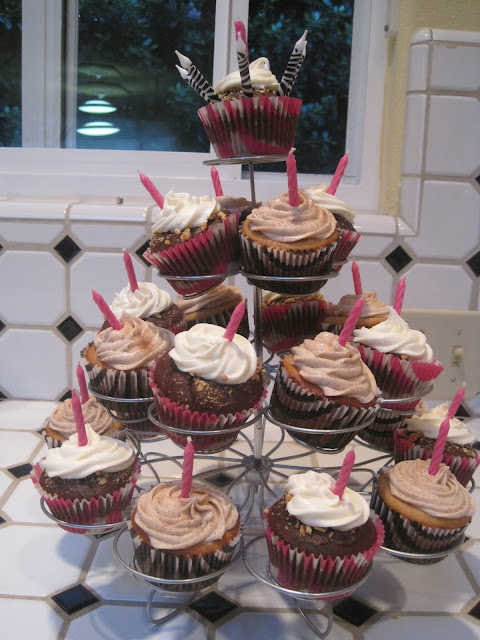
Get ready for a super picture heavy post! I had help taking pictures this time by the birthday girl herself. Her pictures are the ones that aren't crappy.) You can find her blog on fashion, art and photography here. She requested these specifically. And because she made the banner for this site, she gets what she wants. (Plus snickerdoodle cupcakes and cookies.) Last year she got the Catch A Husband Strawberry Cupcakes in b&w zebra liners. So this year, i decided to run with the theme.


I had pink zebra liners i had yet to use, as well as these awesome zebra candles i picked up in a shop in Philly last year. Then i added in some plain pink candles too. (DON'T COUNT HOW MANY THERE ARE. SHE WILL GET MAD.) All together on the cupcakes stand, they looked pretty gosh darn awesome. But more on that later.

The recipe for this is basically in three parts. And it varies a little from what i did last year. This year I did something different with the graham crackers, and the batter was from scratch.

Graham Cracker Crust/Topping
1.5 packages of Cinnamon Graham Crackers
3/4 sticks of butter

1. Place all crackers into a ziplock bag and crush them into pieces with a rolling pin.
2. Separate out 1/4 cups of broken graham crackers, put the rest in a bowl.
3. Melt 3/4 of a stick of butter in the microwave and pour over the graham crackers pieces in bowl.
4. Mush them together with your clean hands.

Now comes the fun part.

1. Scoop 1 tablespoon of the mixture into lined cupcake pans. (Or scoop 1 teaspoon into mini cupcakes pans.)
2. Flatten out with your hands.
3. Put in preheated, 350* oven for 5 minutes and remove, set aside to cool.


Chocolate Chip Cupcakes
(Makes 24 standard cupcakes, but if using this for smores it will make 24 standard plus 24 mini cupcakes)
Go here for my go-to chocolate cupcake recipe. Use Ghirardelli coco powder though b/c thats the only thing i'll use now. :)

Add 1 cup chocolate chips. Yum.


Now, take your batter and pour it OVER the baked graham cracker crust. I did the usual amount b/c i wanted mine to be big monster cupcakes.

Oh what is this though?


That's right, i sprinkled about 1 teaspoon of the remaining graham cracker crumbs over the top of the unbaked batter. And THEN you put it in the oven.

When they come out they look like this. You can just eat it on its own, huh?

But just wait my dears. Cuz i did. I had to wait until the next day, in fact. They were transported to another place (beach house, holla') and were frosting'ed up there.

photo credit: pandippo


Marshmallow Frosting
1 jar Jiff Marshmallow Frosting (7 oz)
1 stick unsalted butter at room temp
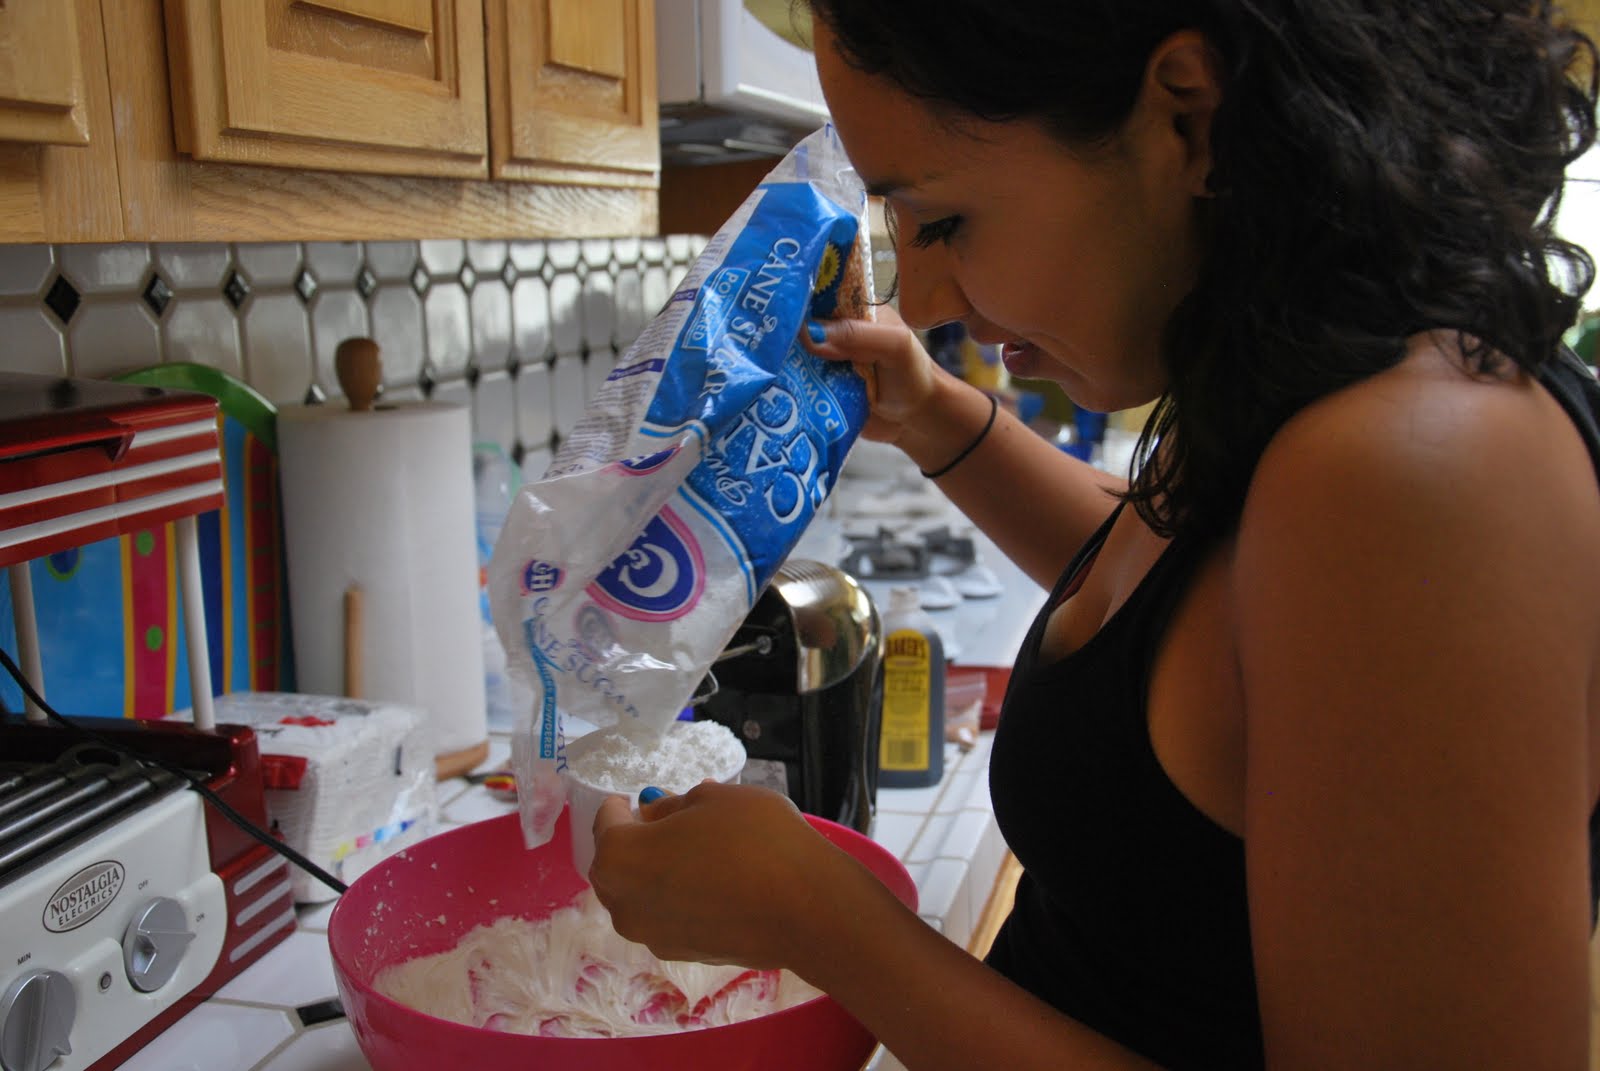
2 cups powdered sugar

1. Yes the whole can of the stuff. And you will like it. Put it into a big bowl and add the butter. Beat together.

photo credit: pandippo

2. Add sugar, beat until light and fluffy.


photo credit: pandippo
Use a 1M tip to frost the cupcakes until they look like this:
photo credit: pandippo
Awesome huh.
I also used the 1M tip to frost the little mini cupcakes with just a dollop of frosting. The 1M tip is also called a star tip and with good reason. A dollop looks like a star :)
photo credit: pandippo

photo credit: pandippo
And then you eat them. All. No I'm kidding. Then you make them even prettier. Add the snickerdoodle cupcakes and a stand.


Then add the candles. Now the hard part.


Lighting them REALLY fast.


photo credit: pandippo


It becomes a group effort!

photo credit: pandippo

Looks awesome lit though! :)


I hope to God she didn't wish for more cupcakes.


Melty zebra-ness.


Pretty Birthday girl about to eat her cuppycake.

photo credit: pandippo


Okay, NOW you can eat them. All.


photo credit: pandippo
xoxo,
Anna

Monday, August 9, 2010

Strawberry Cream Cheese Cupcakes

So i tried baking from scratch on for size. And i'd like to say it was a great success. A roaring success. In fact, im pretty sure when im ready to make the commitment, ill use them as bait to catch a tall, tanned and handsome husband. I'd add my usual "with abs" at the end of that sentence, but we know that said imaginary husband won't have any if he's shoving his face with cuppycakes.

I digress. Back to my Catch A Husband Cupcakes. I think from now on, any recipe i find online im just going to eliminate 1/2 of the powdered sugar and go from there. Cuz i couldnt imagine ruining the cream cheesey-ness of these with more sugar. I actually ended up making two batches. (Cuz i had a LOT of left over frosting.) The first were a lot better than the second and it's because i processed the strawberries differently. It completely made the cupcakes and i will only ever do it this way. Seriously. I mean yeah, i might have burnt my mom's sauce pan a little -- but did i mention i got four proposals? Worth it.

The following is my altered version of the recipe that i used - that i originally found here, after stalking the Internets for 2 weeks for the perfect one.

Strawberry Cupcakes
2 sticks butter
2 cups sugar
2 eggs
2 and 2/3 cup flour
1 teaspoon baking power
1 teaspoon baking soda
1/4 teaspoon salt
1 cup "strawberry sauce"
1/2 cup milk

Strawberry Cream Cheese Frosting
16 ounces cream cheese
1 stick of butter
3.5 cups sifted powdered sugar
1/2 cup of "strawberry sauce"
Pink Food Coloring Gel
*note this made wayyyyyy too much frosting. lol. So you might want to change it a little to make less.

Strawberry Sauce (to be used for both cupcakes and frosting)
1 and 1/2 cartons of fresh strawberries
3 teaspoons of sugar


It's the strawberry sauce that really made them. In comparison to the ones i made the next day, where i simply blended the strawberries and added some sugar to them, these were like 100 times better.

To make the Strawberry sauce, you just take the stems off the berries and cut them in half. Put two teaspoons of sugar on top of them in a bowl and let them sit there for about 15 minutes. Then you put them in a small saucepan with a lid on medium heat. STIR OFTEN OR YOU WILL BURN THEM. Don't tell my mother. =x

Everytime i opened them to stir them it was like magic in my nostrils. The smell was simply intoxicating. They get all mushy and mixed with the sugar... it's crazy.
In abuot 10-15 minutes, when theyre all saucey and you want to shove your face in them, take them out and finish pureeing them to your preferred consistency. Add more sugar if needed. I just added one teaspoon, but it probably didn't even need that. Yeah it looks kinda gross...

Let cool before using (like all the other ingredients, it should be at room temperature. Whisk together the flour, salt, baking powder and baking soda in one bowl. In the other, beat the butter until its fluffy and then add the sugar. Add one egg at a time, beating for 30 seconds in between each one. Mix the strawberry sauce with the milk in a cup. Add one fourth of the dry ingredients to the butter/sugar/eggs. Then add 1/3 of the milk/strawberry sauce. Alternate adding the flour and sauce, ending with the flour. I will admit it. I tasted the cake batter. =x And it was good. It looked like a milk shake. It was gorgeous. (And i got to use my new mixer!)


And they cooked so pretty too! I love seeing cupcakes in their pans. All naked, ready for their frosting.
These were for a friend who shares an affinity for all things animal print. So of course, she got the zebra liners. Was there ever any doubt?


The frosting. Oh that frosting. Cream cheese. I once had a friend tell me that he thinks i would probably eat a whole brick of cream cheese on a stick. And you know what, if society didn't frown on that i totally would. Don't judge.

Beat the butter and the cream cheese together on medium speed until it is nice and creamy. Add half of the sugar. Add as much strawberry sauce as you'd like. Add the remaining sugar. Add food coloring (gel gel gel! none of that watery crap). I stuck it in the fridge for a while to get a little harder b/c i was using a piping bag. Piped it on with a 1M tip and ziplock, and then ate one before anyone saw me.

It made 28 cupcakes. And i had enough frosting to frost another 14 the next day. Oops. So yeah, you can seriosuly cut down on the frosting measurements haha. You can just do half, especially if you will use it to spread on the cupcakes instead of using it for piping. (Plus you can always garnish with real strawberries.)

Once i was done with them all, i put them in my trusty cupcake carrier and ran off to present the birthday girl with her pink zebra cupcakes.

And all 24 were eaten by the end of the night! Cuz there's nothing sadder than taking home rejected cupcakes, you know.


Next, i have my eyes set on choco-penut butter and on pineapple-mango... 'till then!

xoxo,
Anna