Showing posts with label baking. Show all posts

Monday, March 16, 2015

St. Patrick's Day Chocolate Mini Donuts


My friends' annual St. Patrick's Day Dinner was held last Saturday, March 14th, which was also Pie Day.  So while most of the baking bloggers out there were furiously making, eating and Instagramming pie,  I was in my kitchen making donuts.  I was just not ready to have Pie Day trump St. Patty's Day.  Or have pies trump donuts.  Or maybe i'm just a donut loving rebel like that.

Correction; a bright green, sprinkle topped, baked - not fried - chocolate mini donut loving rebel.

They're super easy to make.  Super delicious to eat.  And the only special equipment you need for these bad boys is a mini donut pan.  So it really is worth the cost, trust me.

And making mini (as opposed to normal-sized) donuts means you can guiltlessly eat half a dozen of them because they're just so itty bitty!  You better eat them fast, too.  Because they will disappear.


Mini Chocolate Donuts
Makes aprox 30 donuts.   Bake for 7 minutes at 325*
Adapted from Joy the Baker.

Ingredients:
1 c. flour 
1/4 c.  unsweetened cocoa powder 
1/2 tsp baking soda 
1/4 tsp table salt 
1 pinch of nutmeg
1/2 c.  light brown sugar, packed 
1/2 c. buttermilk 
1 large egg 
4 tblsp unsalted butter, melted until just browned 

1 tsp vanilla extract

Directions:
1. In a medium bowl, whisk together flour, cocoa powder, baking soda, salt, nutmeg and brown sugar and set aside.
2. Melt butter in a small saucepan.
3. In a separate bowl, whisk together buttermilk, egg, melted butter, and vanilla extract.
4. Pour the wet ingredients into the dry ingredient bowl , folding all ingredients together with a spatula until well combined.   
5. Transfer batter into a pastry bag or zip lock bag with a corner snipped off and pipe batter into the wells of a buttered mini donut pan.  Fill no more than 2/3 of the way.  (Trust, if you over batter you will have mini Bundt cakes instead of mini donuts!)
6. Bake in oven for aprox. 7minutes or until the donuts rise and are springy to touch. 
7. Let donuts cool a few minutes before transferring them to a wire rack to cool.

Tip:  In case you didn’t listen to me, and you over filled your donut pan too much and your mini donut/bundt cakes have no hole, use a toothpick or end of a small spoon to hollow one out.


Glaze
Adapted from SprinkleBakes.


Ingredients
2 c. powdered sugar, sifted
1 tsp.  vanilla
3-5 tablespoons whole milk
3-4 drops green food coloring 

Directions
1. Sift powdered sugar in a large bowl.
2. Make a well in the center  of the sugar with your finger.
3. Pour the vanilla extract, food coloring  and 1 tablespoon of milk into the well. 
4. Stir together with a whisk.
5. Add more milk, 1/2 a tablespoon at a time, as needed.  The glaze should come together, shiny and smooth with no clumps.  Don't add too much milk.  I used about 3.5 table spoons total, but this will vary for you.   
6.  Add additional food coloring if needed.  (Use gel food coloring if possible, I used Winton's "Leaf Green".)
7. Dip the tops of your donuts into the glaze, making sure to coat the top completely.  If the donut hole is covered or clogged, poke through with a spoon.
8.  Set donut on a rack to set the icing.  
9. When you are done dipping all your donuts, repeat the process one more time.  Two coats makes the icing more opaque and the color will look much better.  
10.  Add any sprinkles to the donuts while the donut glaze is still wet. 
11. Let donuts set completely, about 30 minutes. 


I have never used sprinkles so sparingly before!  I added a few very strategically placed white sprinkles and just one little shamrock.

Donut worry though,  I will be back to covering everything in sprinkles again next week.


Have a great St. Patrick's Day friends!  Eat plenty of carbs, drink responsibly, wear green and always, always double dip your mini donuts.
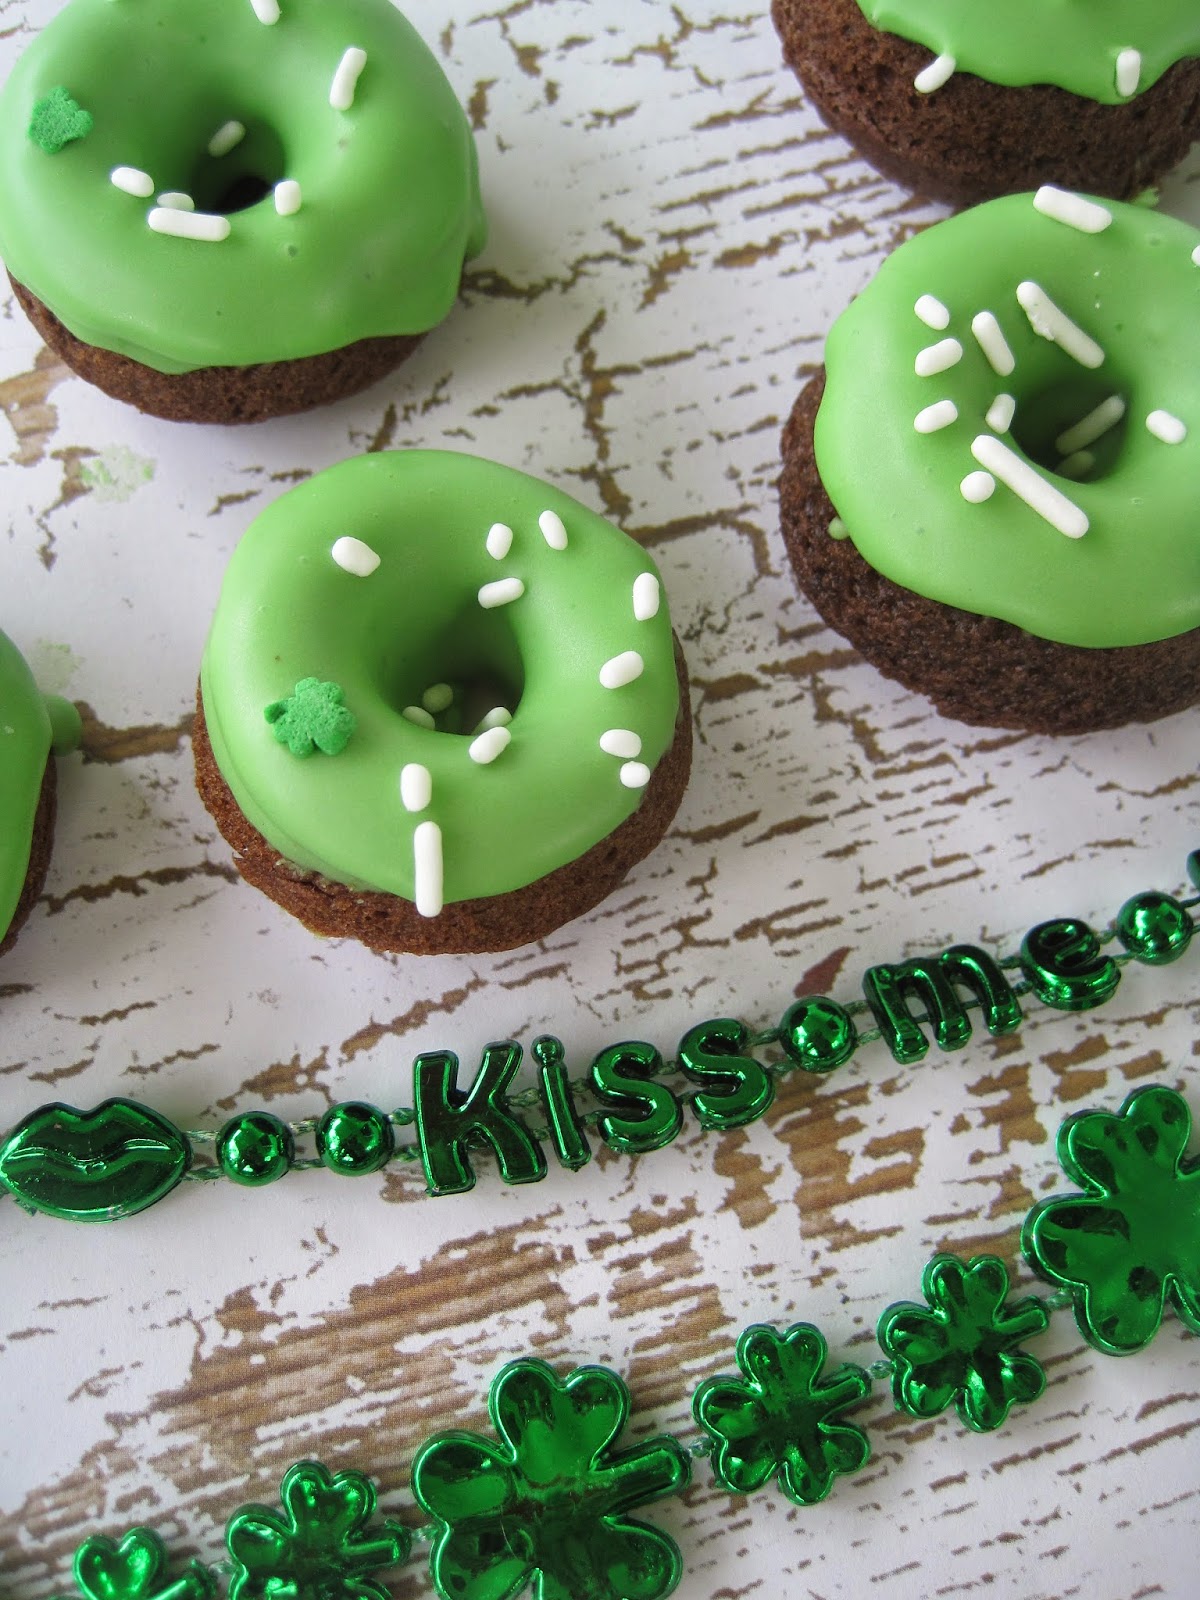


But make sure you get your fill of green things, shamrocks and Irish kisses.  'Cuz I am ready for some pastel bunnies up in here!

xoxo,
Anna


P.S. For more St. Patrick's Day inspired treats, check out my Lucky White Chocolate Chip Cookies or my  Wet Chocolate Irish Coffee Cupcakes .


Wednesday, June 12, 2013

Fresh Strawberry Muffins with Cinnamon Oatmeal Walnut Almond Streusel


I feel guilty, opening up this text box and starting a new blog like I haven't been MIA for almost two months.  Life blew up.  Sorry?  It doesn't mean I wasn't baking this whole time.  If you follow me on IG you know I'm in the kitchen almost every weekend.  I just didn't have time to blog about it all.  Work, Life, Sunshine... all that got in the way of me blogging.  Life has finally calmed down now, so I am able to play catch up. Starting with these muffins I made for my mom for Mother's Day... back in May.

I've mentioned before that I hate giving my mom any of my baking because she dislikes sweets and always says the same thing;  "Too much sugar!".  Drives me crazy.  So she got something without any frosting or icing or chocolate.  She got something full of strawberries.


Strawberries make me think of my childhood.  Although I am not from Watsonville, growing up we had family there so I learned to walk in the strawberry fields.  And one of my oldest memories is eating strawberries in the backyard after a summer rain, staring at the resulting rainbow.  Yes, I'm serious that is an actual memory.  I also had a puppy but she must have been elsewhere that day.  In any case, it felt appropriate to make these for my mom. 


Fresh Strawberry Muffins
Makes 15, Bake at 350* for 18 minutes

2 cups+ 2 tbls flour
1 tsp baking soda
1 tsp baking powder
1/2 tsp salt
2/3 cup sugar
1 tsp cinnamon
2 eggs
1/4 cup oil
2 tsp vanilla
1/2 cup greek yogurt
1 cup diced, floured, fresh strawberries

Directions:
1. In one bowl, mix dry ingredients together and set aside.
2. In stand mixer bowl, add wet ingredients and stir until well combined.
3. Add flour mixture to wet mixture, 1/2 c at a time and mix on low until well incorporated.
4. Pour batter into lined muffin tins.

Cinnamon Oatmeal Walnut Almond Streusel:
2 tablespoons slivered almonds
1/3 cup walnuts
1/4 cup oats
1/4 cup flour
1/2 cup brown sugar
1 tsp Cinnamon
3 tablespoons melted butter

Directions
1. Mix together nuts, oats, flour, sugar and cinnamon.
2. Melt butter and pour over mixture. Knead together.  Mixture should be clumpy.
3. Measure out 1 tablespoon of streusel and sprinkle directly on top of batter in muffins tins.
4. Bake in oven for about 18 minutes.


I'm saving this recipe here and in my brain.  I love this streussel topping on most anything but on top of muffins filled with fresh berries?  Yum.   Eat these warm, right out of the oven or warm them in the toaster oven first.  You will be glad you did.


I promise I will be back sooner than 2 months from now.  :)

xoxo,
Anna

Sunday, March 24, 2013

Rabbit Food: Carrot Cupcakes In A Jar


I am having rabbit issues this week.  During Christmas, if you follow me in Instagram, you will remember that I was OBSESSED with gingerbread men.  And then with foxes on my clothes.  This season it's bunnies.   It started when I found these little Easter rabbit figurines (jax!) at Walmart.  I had been wanting to make cupcakes in a jar for months and thought they'd work well for some special Easter treats.  DIY, cute packaging, spray paint?  Right up my alley.

I spray painted the seals white and the rims baby blue and glued the bunnies on top.  I used smaller mason jars, the half pint glass ones.  It took a few days to let the paint dry but it was a fun project! Purple or green would have been cute too.


What kind of cupcakes did I bake?  Well my new motto is "eat like an Easter rabbit"!  So I did. They're carrot cake cupcakes of course. Rabbits may eat carrots, but Easter Rabbits eat sugar, for sure.  I used the same recipe last year, and still can't be happier with the taste and texture. Love the pineapple and the walnuts in the batter.  You can go here to see the recipe.

The frosting I changed up slightly, it's still pineapple cream cheese frosting but I used  2 tablespoons of pineapple-apricot preserves instead of pineapple juice.  Either will work, but I liked the stronger flavor that came through by using the preserves.

Jar Assembly

1. Bake as directed, let cool completely & cut in half, horizontally.
*If you don't wait for them to cool they will fog up your little mason jars.  Be patient.
2. Layer them into the jars: Cake, frosting, cake, frosting, cake frosting.
*You can either fit one or one and half cupcakes inside one half pint jar, depending on how generously you frost.
* I used a 1M tip and moved the jar as I squeezed.  My tip to you is NOT to frost against the glass, but about 1/2 an inch away from it to keep it clean and pretty.  When you put the cake on top, press down slightly and it will move the frosting to the edge.
3. Before you place a cap over them, add additional garnish to the top of the jars.


I tied them off with white and gold baker's twine and included those little wooden ice cream spoons.


  What child, or adult would not love getting one of these?  Best part it that you can keep the jar once the cupcake has been eaten, and save it to store something else.  That's a gift that keeps on giving right there.


This bunny is just TOO cute.  I can't get enough of him.  Or his little wooden spoon.


Happy almost Easter guys!  You will get one more Bunny post out of me this week, so stay tuned!

xoxo,
Anna


Monday, September 3, 2012

Cream Cheese Stuffed Cinnamon Blueberry Cookies


Do people give each other, or themselves, Labor Day presents?  Cuz I am, right now.  My present to myself  is to not wake up at the crack of dawn to go on a run.  Instead I'm eating brekkie in bed, watching one of my top favorite movies and blogging.  Because waking up at 7AM to sweat sounds laborious and that'd be the wrong thing to do on this holiday.

Do you know what else is wrong?  Summer ending.  The days are shorter, the mornings colder, there are pumpkins at the grocery store and only mismatched, heavily clearanced bikinis remain at the department stores. And worst of all, society expects me to wear pants again!  I hate pants.  But I am still clinging on to what remains of the sunshine and warm days, baking with berries while they are still readily available.  While wearing pretty summer dresses.

I made these cookies based off of  this recipe I found last month.  I pinned it but when I looked at the ingredients and saw the lemon, they screamed Summer so bad that I knew I couldn't find it in me to make them exactly.  So I used lots of vanilla and cinnamon/nutmeg instead.  I'll ease into fall slowly.

Nothing like busting out the sugar, eggs and butter.  And if easing in means getting to play with brown sugar, then let's have it.


Cream Cheese Stuffed Cinnamon Blueberry Cookies
Makes around 15, Bake at 350* for 12-14 minutes


1/2 cup unsalted butter, at room temp1/2 cup sugar
1/4 cup brown sugar
1.5 tbsp vanilla
1 egg, at room temp
1/4 tsp baking soda
1/4 tsp baking powder
1/2 tsp salt
1 tsp cinnamon
1/2 tsp nutmeg
1.5 cup flour
1/2 cup blueberries
1/3 package of cream cheese


For dusting:  cinnamon/sugar mixture at a 1:3 teaspoon ratio. 


Directions:
1. In mixer, cream together butter and sugars until fluffy.

2. Add in vanilla and egg.
3. In a new bowl whisk together the baking soda, baking powder, salt, cinnamon, nutmeg and flour.

4. Hand mix it into the wet ingredients.
5. Fold in blueberries carefully, trying not to break them.


6. The dough is really sticky.  Refrigerate or put in freezer until stiff. 
7. Scoop out 1 big tablespoon of dough into your hand slightly flatten.  
8. Place 1 small piece of cream cheese  (I used 1/4 of a package for 12) into center and fold edges over the cream cheese, making one cookie dough ball.


9. Repeat for the rest of the dough and place on cookie sheet to bake.
10. Immediately out of the oven and while still warm, transfer to a cooling rack and lightly sprinkle with cinnamon sugar mixture.
11. Let cool completely before storing if not consumed immediately. These are really packed with moisture because of the blue berries, and will get mushy if you don't let them cool.  

At first, you can't even tell that inside there lurks cream cheesey goodness.  You just see some cookies with blueberries poking out.   They are sneaky, deceiving cookies.


With a closer look, you can see the sparkling cinnamon sugar.  Since you sprinkled the topping on while still hot, the cinnamon sugar will adhere to the tops in the most lovely way.  And if you look closely... that cream cheese starts poking out.  


But once you rip them open... well it's a different story then. 


Then you can see the cheesey goodness.  Then you can see the blueberries that burst open in the oven.


Remember that sharing is caring people.  And if that doesn't encourage your generosity, remember that gluttony makes you fat -- hand some of these bad boys out if you can.  I sent half of these away while they were still warm, it's that serious.

xoxo
Anna


Wednesday, September 7, 2011

Baking is Expensive

It is.  The flour.  The sugar.  The eggs.  The 2011Kitchenaid 10 year anniversary Susan G. Komen stand mixer from Williams-Sonoma...


It looks so pretty and perfect in the kitchen! No i have not used it yet but it has only been four days!  And the possibilities are endless.  >.<

This is like Christmas for me.  Except better because i don't end up with anything awkward.  I end up with exactly what i wanted.  (And for fifty bucks less because of a price mistake!)

At the latest I will have to bake for my mom's birthday in the beginning of October.  And i hope it's the strawberry cheesecake cupcakes i have been dying to make. Can't wait!!!

xoxo,
Anna