Showing posts with label baking date. Show all posts

Tuesday, June 10, 2014

Puff Pastries: Inspired by miette


Hey guys, I lied a little.  Well no, I lied a lot.  Instead of properly preparing for Colombia by only eating lettuce and dustballs for the last three weeks, I have been eating big ol' burgers and  lots of  fancy artisan ice cream instead.  It's hot and ice cream is good okay?  Can ice cream be my spirit animal?  Is that possible?  Or just weird? Oh it's definitely weird... okay, I was just kidding anyway.

This last minute treat was completely justified though.  It was a baking date with the fair Rachelle and it allowed me to get some quality time in (with her and a toy I hadn't played with before) AND have something to blog out!  Win-win. She emailed me, suggesting eclairs and it only made sense to proceed with our endeavour since we had both bookmarked a recipe in our miette cook books ages ago.  I first went to miette  about two years ago and fell in love with their colors and decor, the whole shop and of course... the pastries!  We each have our own copies.  They both came in handy.


I was reminded of a very important life lesson on our date.  You can't always be perfect.  And that's okay because chocolate ganache and sprinkles can, in fact,  fix most anything.

This applies to broken hearts (obviously) or puff pastries.  But today I am talking about the latter.  Neither of us had made puff pastries before.  We certainly did not excel at our task.  We did quite a few things wrong, actually.

Our biggest mistake was assuming that we knew better than our cook book.  We were directed to pipe the puff pastry into 5x1 inch strips using a 1/2 inch diameter piping tip.  We used math and convinced ourselves that they must have meant TWO strips. Two strips of dough would bake itself together, right?


Wrong.  As evidenced above, we ended up with really big donuts... that could be divided into two.  Like one of those popsicles from childhood.  I get strawberry, you get orange but we break them in half and share!  Not much of a pretty sight to see.

And piping into them was much of a disaster since they didn't fluff up properly and we had to fill them in at least two places!  Pastry cream all over the place!  At least I got to use my cool little machine though...

Yet we had a great time laughing over our mistakes and then trying our best to fix them.  This is where we were saved by chocolate and sprinkles, the real heroes of today's story.

We zig zagged the ganache instead of dunking them.  (Bonus:  You can see the vanilla bean specks!)


We added some straight-from-miette sugar flowers to the prettiest ones.  ... and ta-dah.


We had eclairs!


We had cream puffs!


Sure there's a few flaws in them but thats okay!  At the very least TWO of them looked and photographed wonderfully,right?  ;)  Plus they were delicious. Just like an eclaire should taste like.   And we had an awesome afternoon.  We didn't let puff pastries defeat us!

I am quite confident that for our next date, Rach and I will master our technique and I will bring something even prettier to share!

xoxo,
Anna

(For the recipe, I encourage you to buy the miette book and follow the directions properly. I don't like to post exact recipes from books, nor will I post recipes when I don't think I have the recipe down enough.  Soon though, soon!)

Tuesday, December 10, 2013

Chocolate Covered Gingerbread Madeleines


I do this thing every year where I decide to vacation during the month of November.  It's awesome because I get to to escape the city and the mundanes of daily life and sneak away for one last sun kissed tan in before the sun goes away for four months.  It's awful because I come home, catch a cold, have to wear pants because it's dropped 20* and oh look it's December!  I have no idea where November went this year... one minute I was on a boat in the Bahamas, the next I was back in the states, downing Gingerbread lattes, shopping for Christmas mugs at Target and planning fancy holiday outfits.

When it came time to decide what to bring to my friend Rachelle's cookie exchange -- while wearing my favorite hot pink fleece gingerbread pajamas and sipping gingerbread tea out of my gingerbread man mug mind you  --it was no surprise that I went with something gingerbread.  My first thought was my gingerbread chocolate chip cookies.  They're easy to make.  I've made them before.  But that seemed too boring for a cookie exchange.  Then I thought about how easy madeleines are to make and contemplated making some of those instead -they just look fancy.  While debating the hard question of which cookie to bake, I came to the realization that instead of choosing between the two, I could combine the two.  Hashtag Cookie Genius.

Taking a page from the chocolate dipped orange madeleines I made last year, I finished these gingerbread madeleines with a dark chocolate drizzle.    Gingerbread plus dark chocolate is one of my favorite holiday flavor combinations afterall.  Remember the Gingerbread S'mores Cupcakes?  


Gingerbread Madeleines
Adaptation Source.
Makes 34. Bake at 375* for 7-8 minutes.

4 room temp eggs
2/3 c. sugar
1/4 tsp salt
2 tsp vanilla
4 tbsp molasses
1 cup flour
1/2 tsp baking powder
1/4 tsp nutmeg
1/2 tsp cinnamon
1 tsp ginger
1/2 cup unsalted butter melted and cooled
1/2 cup dark chocolate chips
(Optional:  1 cup mini chocolate chips)

Directions:
1. Whisk together flour, baking soda, nutmeg, cinnamon and ginger and set aside.
2. In a stand mixer fitted with a paddle attachment, beat eggs on high for about three minutes.
3. Add salt to the eggs, and then the sugar.  Sugar should be added slowly over the course of five minutes by the spoonful.  Eggs will become white and frothy.
4. Add in vanilla and molasses and beat on high speed until fully incorporated.
5. Stop the stand mixer and fold in flour and butter in additions, starting and ending with the flour.  Mix until smooth.
6. Scoop batter into butter and floured madeleine pan and bake for about 7 minutes.
7.  Melt chocolate in microwave for 30 second intervals, stirring in between.  Scoop melted chocolate into a piping bag and decorate cookies once they are cooled.

Tip:  Madeleines taste best 1-3 days after baking.  This allows the butter flavor to really set in.


Do you know what taste's good with these?  Gingerbread tea.  In a gingerbread mug... lol.  I'm totally that girl.


I apologize for my Gingebread Cheer.  No not really.

Do you know what else you can do to these bad boys?  Add in mini chocolate chips to the batter (about 1 cup) for EXTRA chocolately goodness.  See?


How was the cookie exchange you may ask?  Awesome.  Who doesn't love a giant plate of cookies?


Or 10 plates of them.  Don't worry we did more than just eat our weight in butter and sugar.  We mixed up some royal icing and decorated some sugar cookies too. That counts as activity, right?


I have to bake again this weekend ('tis the season to get fat afterall).  I'll try not to wear my penguin pajamas as I think of a cookie/cupcake because I don't want to find out what penguins taste like.  =/

xoxo,
Anna

Sunday, January 6, 2013

Linzer Cookies


Linzer cookies have been on my "to bake" list for ages.  Literally months ago I bought half of the ingredients to make them but never did.  This past December though a co-worker started talking about them and I eagerly accepted a photocopied recipe out of her Parade magazine.  I mean they claimed to win best "rolled out cookie" for 2012.  Worth a try, no?


So when scheduling a baking date with my dear Rachelle (cuz you know, that's what we do) I knew that we had to make these.  She obliged and I think I now have to rename this blog "My Feelings Taste Like Cookies" because I seem to have forgotten how to make anything else this holiday season!

We used the food processor for this recipe, but not the stand mixer.  


Linzer Tart Cookies
Taken from Parade Magazine, December 2012.  
Bake for 10-12 minutes or until sides are golden at 350* 

3/4 c. unsalted almonds
1 1/2 c. sifted flour
1/2 c. butter, at room temp
1/2 cup confectioner's sugar
1 tsp lemon zest
1 egg, at room temp
Fruit preserves - any flavor
Confectioners sugar for dusting

Directions:
1. In a food processor, chop nuts and 1/4 c of the flour until fine.
2. In a bowl, combine nut/flour mixture, remaining 1 1/4 c. flour, butter, sugar, zest and egg.  Stir by hand until it turns doughy.
3.  Divide dough into two equal pieces and cover in plastic wrap.  Refrigerate for at least 30 minutes.
4.  Roll out dough on a floured surface.  Use Linzer cookie cutters to cut out bottom and tops of your sandwich cookies.  You will need an even amount.
5. Bake on parchment paper until sides are golden brown and let cool.
6. Spread fruit preserves on the bottom cookies.  On the tops (the ones with the cut outs), dust with  confectioners sugar.  Sandwich top cookie to bottom cookie.

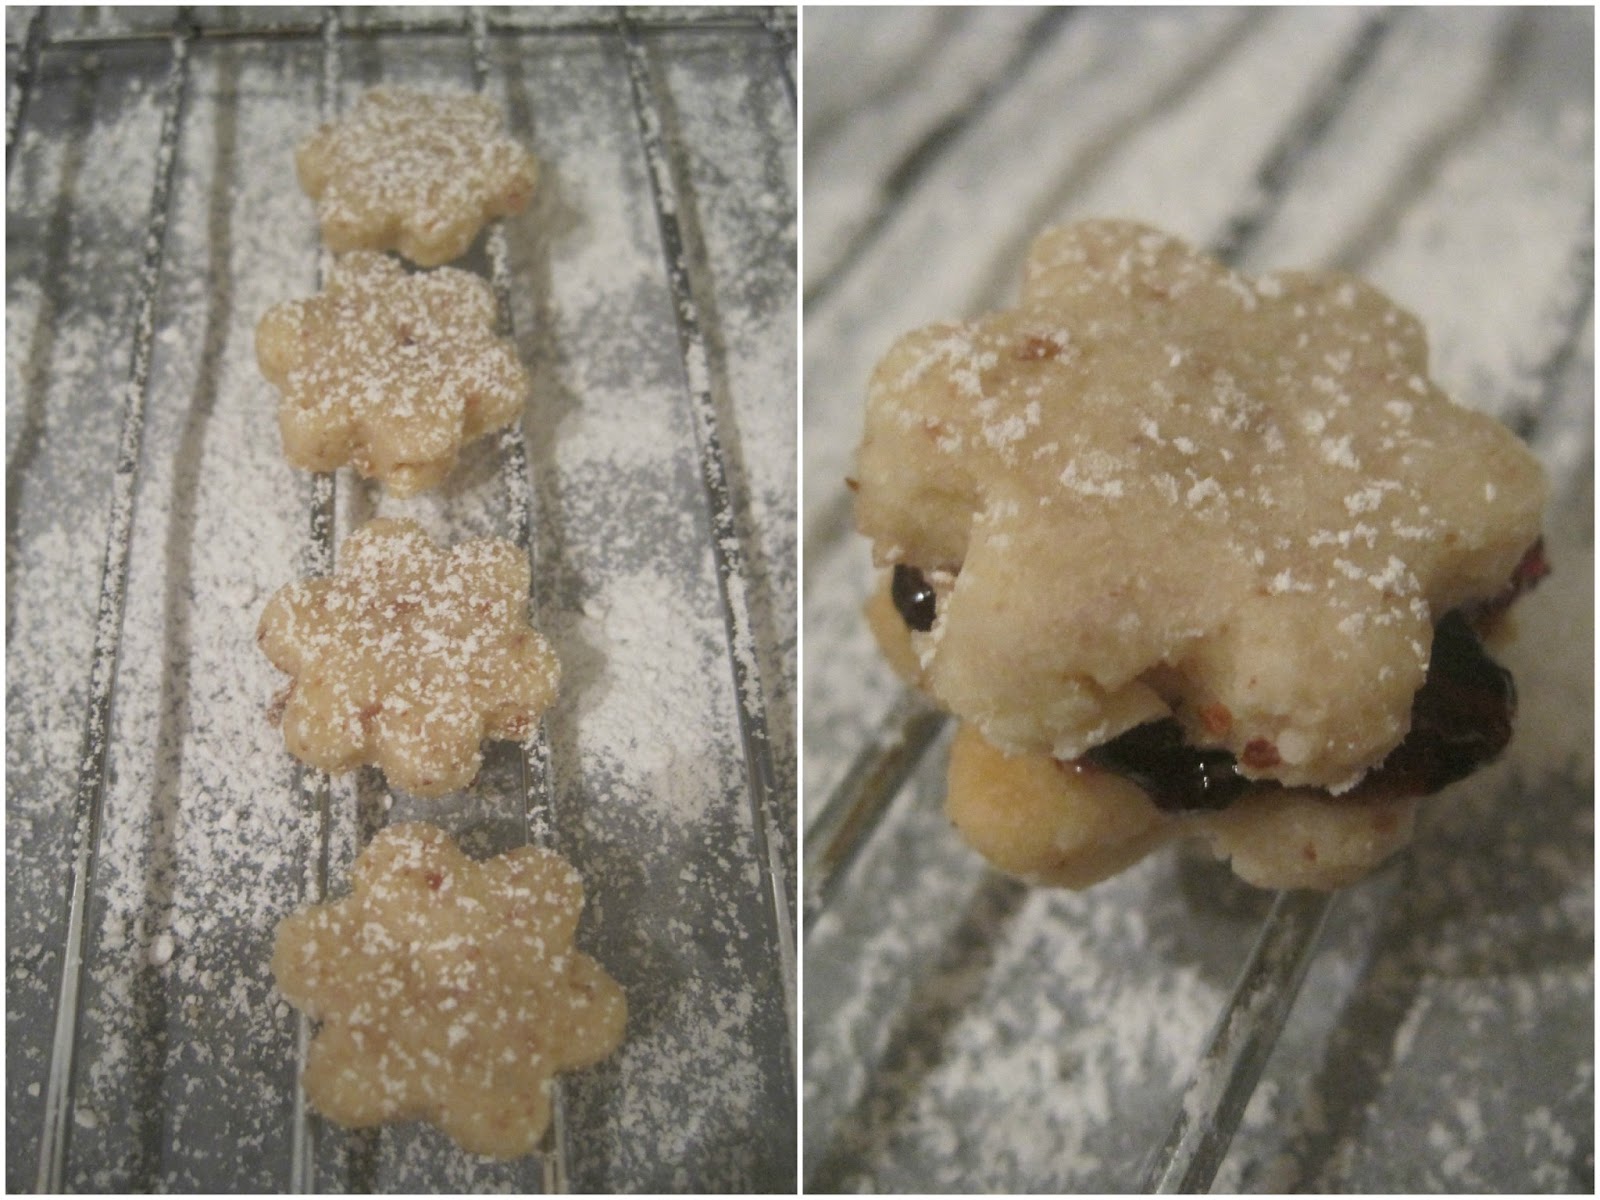
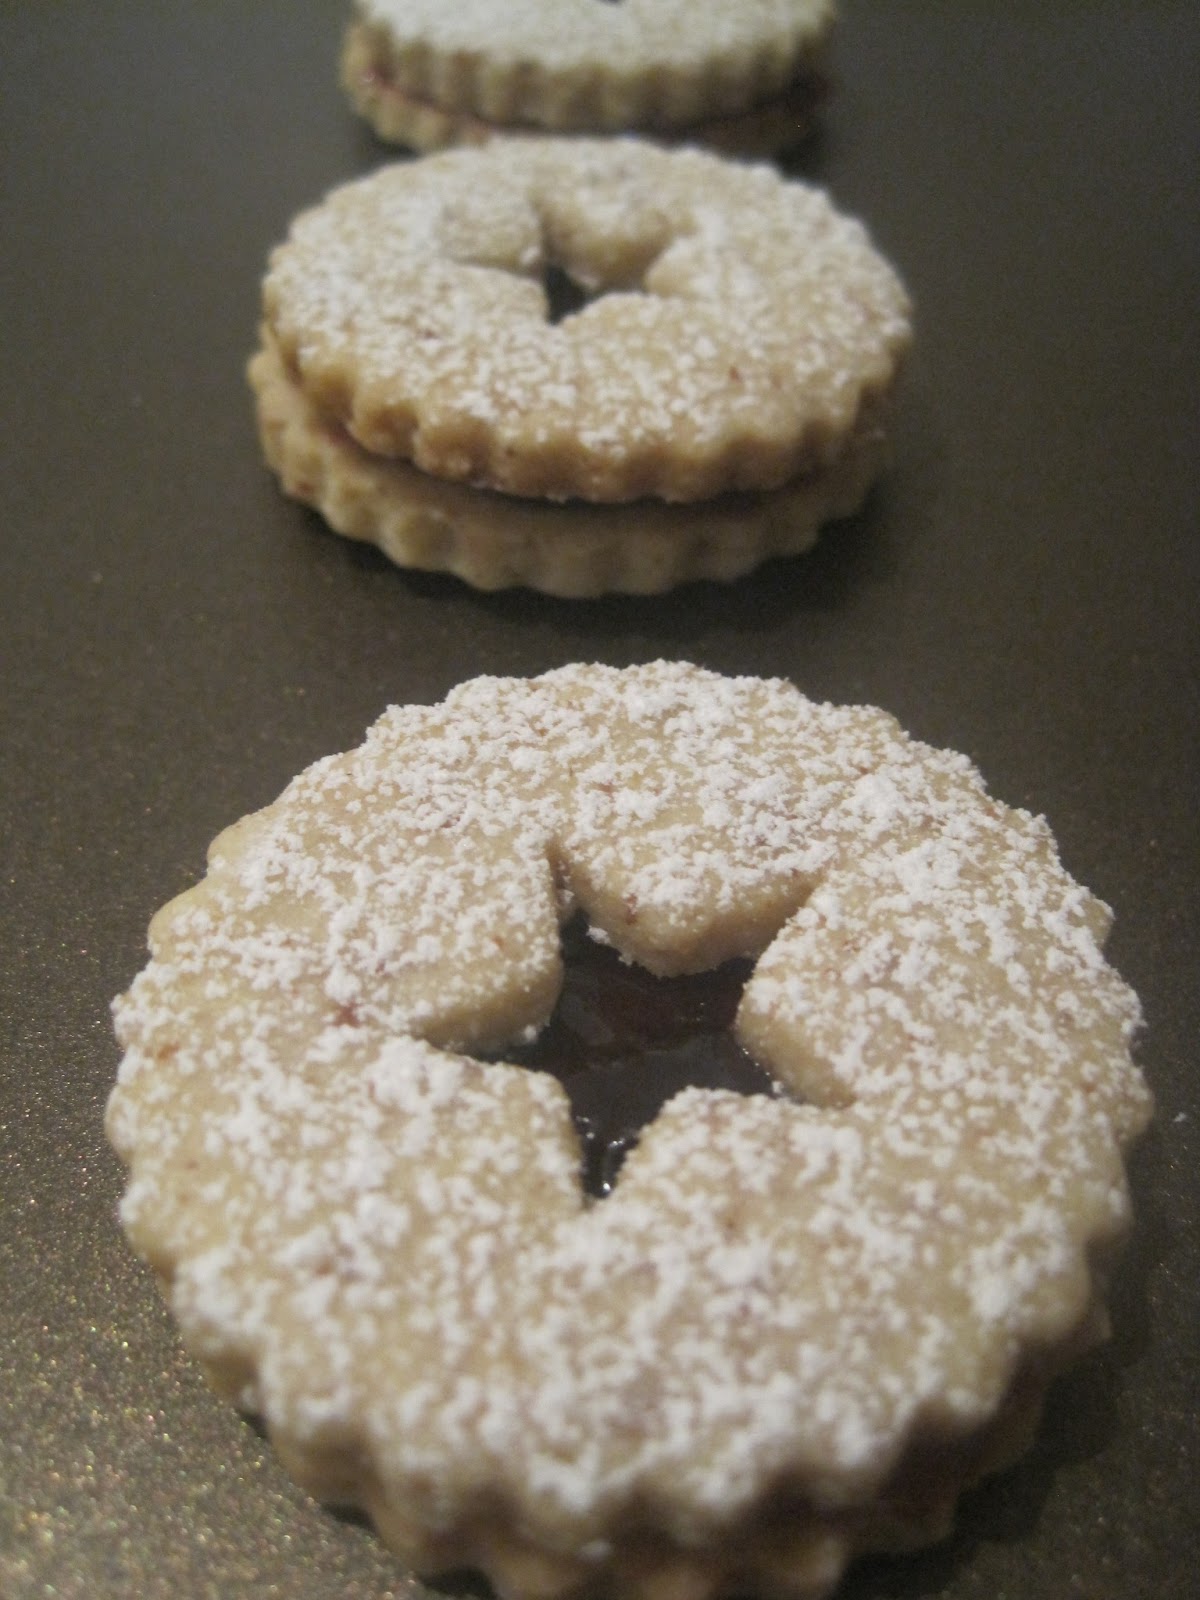
I sucked at using the cookie cutter by they way.  Rachelle did most of the stamping because I was making messes.  Aren't the baby cut outs cute though?  We used stars and flowers. But like the recipe mentions, they have winter linzer cookie cutters too with things like mittens on them!


For the fruit preserves I  bought apricot-pineapple and boysenberry.  You can use any preserve, but I chose a few little lesson common ones to make things interesting.  I really liked the boysenberry one, personally.


My tip to you is that you can't use enough preserves.  Add more before you sandwich them together.


We rolled out the cookies twice, the last time we couldn't reuse the middle cutouts so Rach decided to bake the few we had -- tiny equals cute people.  


And then we sandwiched them together too -  into teeny tiny bite sized cookies. Literally bite-sized!

Baking dates with Rach are the best.  If we fail, we fail together!  But two sharp minds with pretty solid baking instincts don't fail.  :)


We actually made these back in December but I had't had time to post about them. They came out too pretty not to though!  You can see the specks of lemon zest, the pieces of almonds and of course the preserves peaking out.  And truth be told, I have a thing for scalloped edges.


The stars were the boysenberry.


The flowers were the apricot-pineapple.


Now that the holidays are over I need to stop baking cookies and maybe learn to bake some vegetables.  So next week look for carrots.  Ha, totally kidding.  (Unless it's carrot cake.)

xoxo,
Anna


Monday, September 17, 2012

Caramel Apple Fritters


September must be caramel month here at my feelings taste like cupcakes, cuz last week I  had those caramel pumpkin snickerdoodles, and just look at the caramel on that plate this week!  Nom.  Can't take full credit for these those, I had a lovely little baking partner this weekend.  My dear Rachelle, who I baked that soft chocolate cake with a few months ago, and I got together Saturday morning to churn out some quick donuts for a late dessert after brekkie.  Rachelle dates are the best.  They always involve food.

We adapted the recipe from here, but made one crucial change.  Instead of making a simple glaze (milk + powdered sugar) to coat it in, we drizzled it with caramel.  Yeah, just because caramels and apples are lovely and delicious.

Apple Fritters
Makes about 24 fritters, around 1.5 inches in diameter.
Fry at 375*  on each side as needed.

1 cup flour
1/3 cup sugar
1 tsp. baking powder
dash of salt
2 tsp cinnamon (feel free to add more, we wished we had!)
1 tsp nutmeg
1/2 tsp vanilla

1 tsp butter, melted
1 egg
1/3 cup milk
1 – 1 1/2 cups of finely chopped apples

vegetable oil for frying
powdered sugar for dusting

Directions
1. Mix dry ingredients together.
2. In mixer, slowly add in vanilla, butter, egg,milk and beat until incorporated. 
3. Fold in apple pieces. 
4. Heat oil.  Should be around 375*. Test with a small piece of dough before starting to fry.  Place 2-3 scoops of batter at a time into oil and cook on each side until golden brown and cooked all the way through.  (Once we got the hang of it, it took about 3 minutes to get them cooked all the way.  


5. Place on paper towels to absorb oil
6. Sprinkle with powdered sugar while still hot


Easy Caramel Sauce
About 8 oz of unwrapped caramels
1/4 cup heavy whipping cream

Directions:
1. Place caramels in a sauce pan over low heat and add cream


2. Whisk slowly until caramels are completely melted and sauce is smooth.
3. Drizzle over fritters and serve

So how do they look like when they're done and sprinkled with powdered sugar and drizzled with caramel?

Like this:


And when you bite into them, revealing those chopped up apples inside, they look a little like this:


Consume these ASAP because the warm insides and gooey caramel have a short shelf life.  Make sure that you have plenty of taste testers near by to help you do the job though.


Cuz the temptation to shove them all in your mouth is high.  They do smell, and look,  like caramel cinnamon apple deliciousness after all.


So put them on a plate, invite some friends over and have a fritter brekkie party.


It took a few to get the hang of frying them, I try not to use oil in anything I cook (granted, i can't cook) and neither does Rachelle but in the end they came out pretty awesome.  Now we feel confident that we will be adequately prepared for our next baking adventure:  churros.  I told you Rachelle dates are awesome.

But before we do that, we're hitting up Oakland's Eat Real Festival.  So no baking this weekend since I will already be eating 4x my body weight anyways. (I'm actually going for 2/3 days, haha.)  Check it out if you're in town.  It's 100% more awesome than any other foodie thing you've ever been to.

xoxo,

Anna

Wednesday, February 22, 2012

Taking on Martha: soft chocolate cake with orange creme anglaise


Sometimes my weekend plans includes things like Giants baseball games.  Or bars.  Eating, there is always lots of eating.  The movies.  A lovely  drag queen show is up for this week.  Many weekends I just stay in and bake all things things.  Last weekend was mostly that; baking.  Three times actually.  You'll see what else I made next week. This week you get to see what happens when my dear friend Rachelle and I have a baking date.

Rach suggested a Martha Stewart recipe she saw in the February issue of Martha that looked really fancy pants,  soft chocolate cake with orange creme anglaise.  Yeap, because we were that sure of ourselves and our abilities.  It's a super soft cake, almost like pudding that is served warm with cold a cold orange cream.  Sounded good to me!


So I went over to her lovely Oakland apartment with lots of windows and sunshine and cat named Don that likes to sit on your chest and give you love nips. On your face.


Orange Creme Anglaise
1 cup whole milk
3 tablespoons sugar
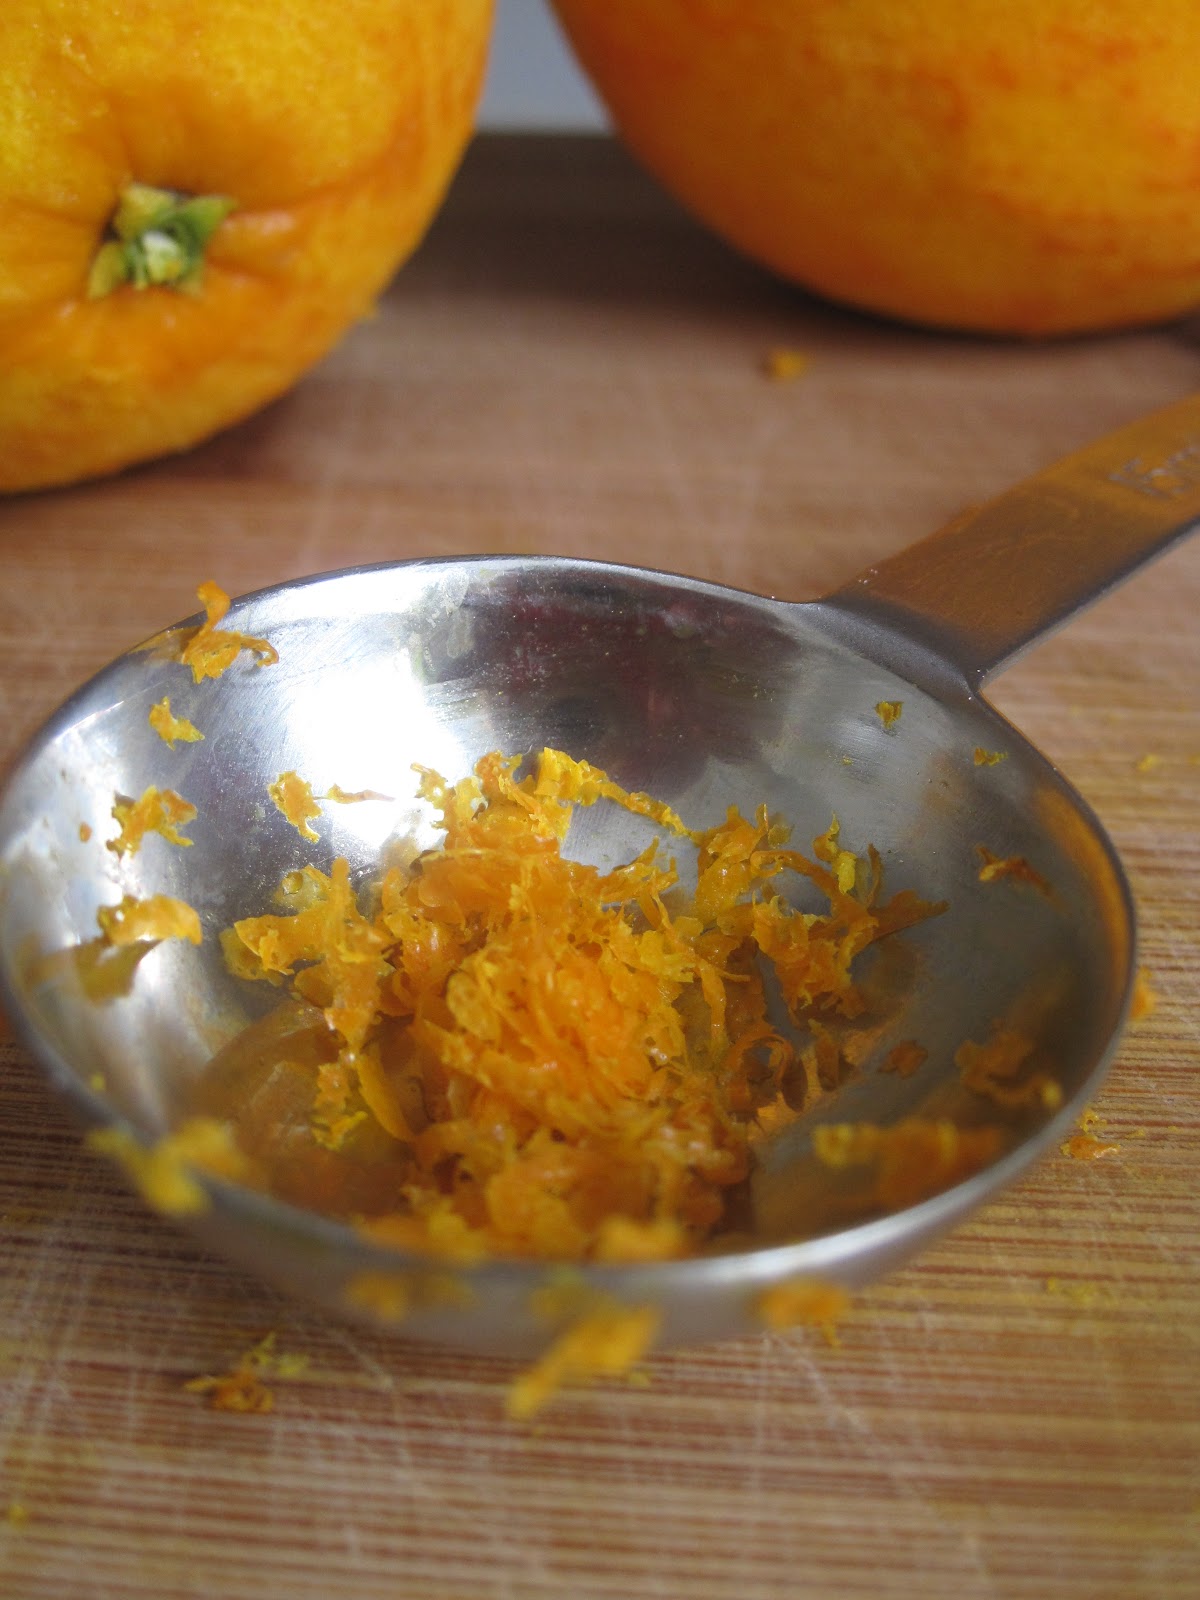
1 tablespoon orange zest
3 egg yolks
Pinch of salt

Truth time.  We had to do the creme twice because the first time was a disaster.  DISASTER.  So my directions will be a bit modified. What's up Martha, when something is HARD to do give us a little more direction!

Directions:
1. In a medium saucepan, heat milk,salt, sugar and orange zest.


Now, Martha says to bring it to a simmer.  We did barely a simmer.  Just enough for it to be hot and warm so that when you cover it it traps the heat.

2. Once covered, let sit for an hour.  Go find something to do.  We had tea with some left over orange zest inside our cups.

3. Separate your eggs in a separate bowl.  I let Rachelle do this because i suck at it.  Whisk them.


4.  Take your milk mixture which should look a but like this:

 and warm it up.  This is super important.  WARM IT UP DO NOT LET SIMMER OR YOU WILL COOK THE EGGS.

5. Whisk the two together and then return them to the saucepan.

6. Cook over low heat, stirring constantly for about six to ten minutes.  Absolutely do not let them come to a boil or even a simmer.  I repeat, be SUPER careful.  Low heat is better.

(This is where we messed up the first time and had to run out and buy more eggs and oranges. Cuz it looked like scrambled eggs. lol.   But we also bought pizza while we were out, so it was okay.)

7. Once the mixture coats the back of a spoon, remove from heat and strain immediately to take out the pieces of zest and any pieces of cooked eggs.  The creme should be smooth, not lumpy.


8. Refrigerate for 1-2 hours.  (Or a day or two if you are making this in advance.)

This is the point on our date where we watched DC Cupcakes on Netflix.  Make sure you do that too.  Or Cupcake Wars.  Or just anything on the Food Network to keep you in the cooking mood while you painfully wait for it to cool enough for you to start baking the cake.

Once you eventually get to that point, or can wait no longer and are willing to risk eating warm cream, get your ingredients for the cake out.

Soft Chocolate Cake
400*
1 stick unsalted butter
4 oz chopped bittersweet chocolate (70%)
Pinch of salt
1/4 cup sugar
2 large eggs
2 large egg yolks
2 teaspoons all purpose flour
Vegetable oil cooking spray OR butter to grease your pan(s)

Directions:
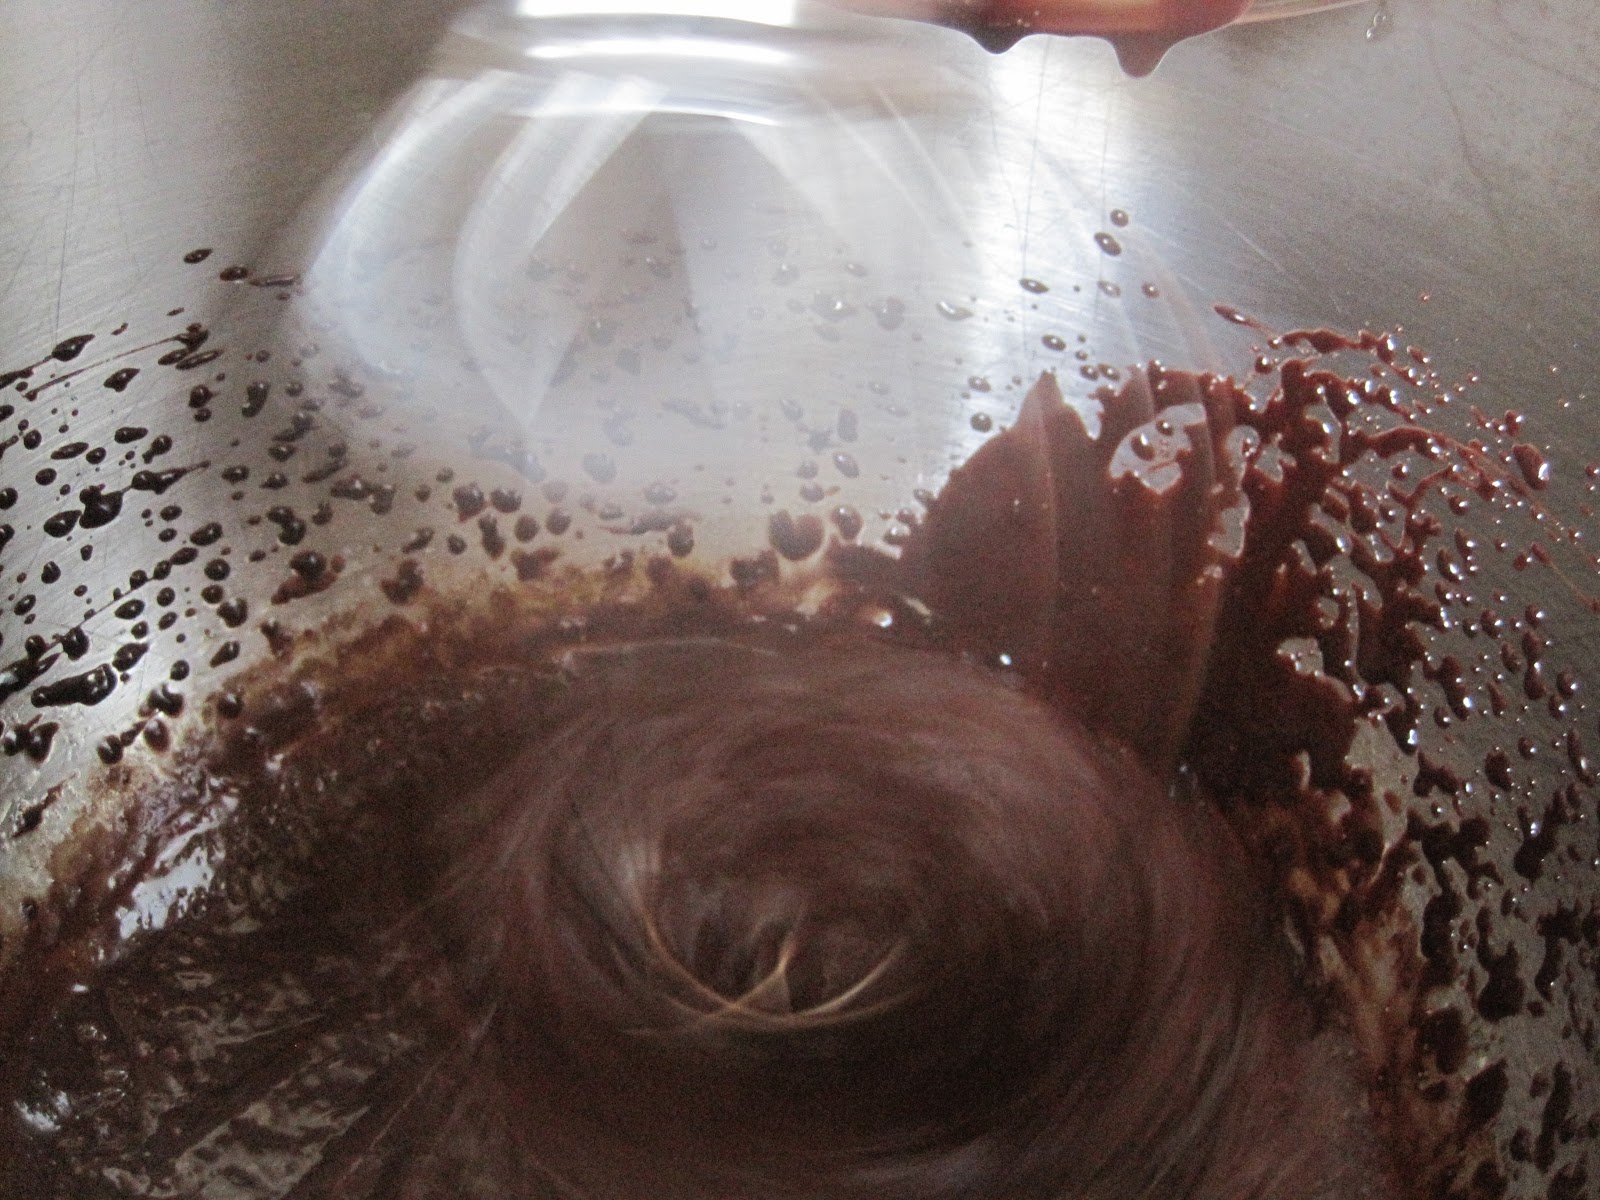
1.  Make a double broiler by putting a heat proof glass bowl over a sauce pan filled with 2 inches of water. Add your cubed butter, pinch of salt and chopped chocolate to the bowl.

Don't eat the chocolate.  No matter how good it looks.


2. Whisk to combine over heat.  Extra awesomeness if you have a pretty heart apron you buy on clearance the day after Valentines Day. I bought two, one for Rachelle and one for me.


That in itself tastes good.  Not that i'd know of course... Time for the rest of the cake!


3. Beat eggs, egg yolks and sugar in an electric mixer until light and frothy.

4. Add chocolate mixture.   See the matchy apron?


5. Add flour. Whisk all until combined.


The cake part is actually easy peasy, huh?  Now that it's all done you just need to put it into a cake pan.  (6 1/2 by 9 inch will do.)  Or you can put it into several cute little pans like I did.

I saw these at Ross last week and fell in love with the dots.  I didn't buy them because i was like what would i use them for?  But when i asked Rach if i needed to bring anything, she asked if i had anything cute for the cake.  I said that i did not.. but that I COULD... lol.  So I ran out and bought them.  Adorable, huh?


 I think these are like 12 or 14 oz, and had enough batter for four.


6. Once in the pan(s), bake in oven for about 8-10 minutes - until the edges are set but the middle is still soft.

Now you can take your (chilled) orange creme anglaise out of the fridge. You can even adda  little bit of extra zest for garnish.  It thickens a bit in the fridge, and is a nice pale orangey yellow.  If you noticed, there is very little sugar in this recipe so it is really light in sweetness.


This is good because the cake is chocoaltey.  Way chocoaltey goodness.  Like Martha says, you don't know if you are eating a cake or pudding.  Or both.  Some rich wonderful hybrid. It honestly looks barely cooked.  But it is.


Then just like Captain Planet, you take the two and combine their powers.


And you end up with this.  Warm and cold mixed together.  Chocolate and cream with a hint of orange.


There's only one thing left to do.  Only one thing you CAN do.  Put a spoon in it and shove it down your throat. Repeat until gone.


Best date ever?  I think so.

xoxo,
Anna